SwiftStack Client
Once your newly configured cluster is ready, we recommend running through a few exercises to become familiar with your cluster and test it.
Download the latest version of the SwiftStack Client
Please follow the download process appropriate to your operating system.
The next step is to configure a storage account in SwiftStack Client UI.
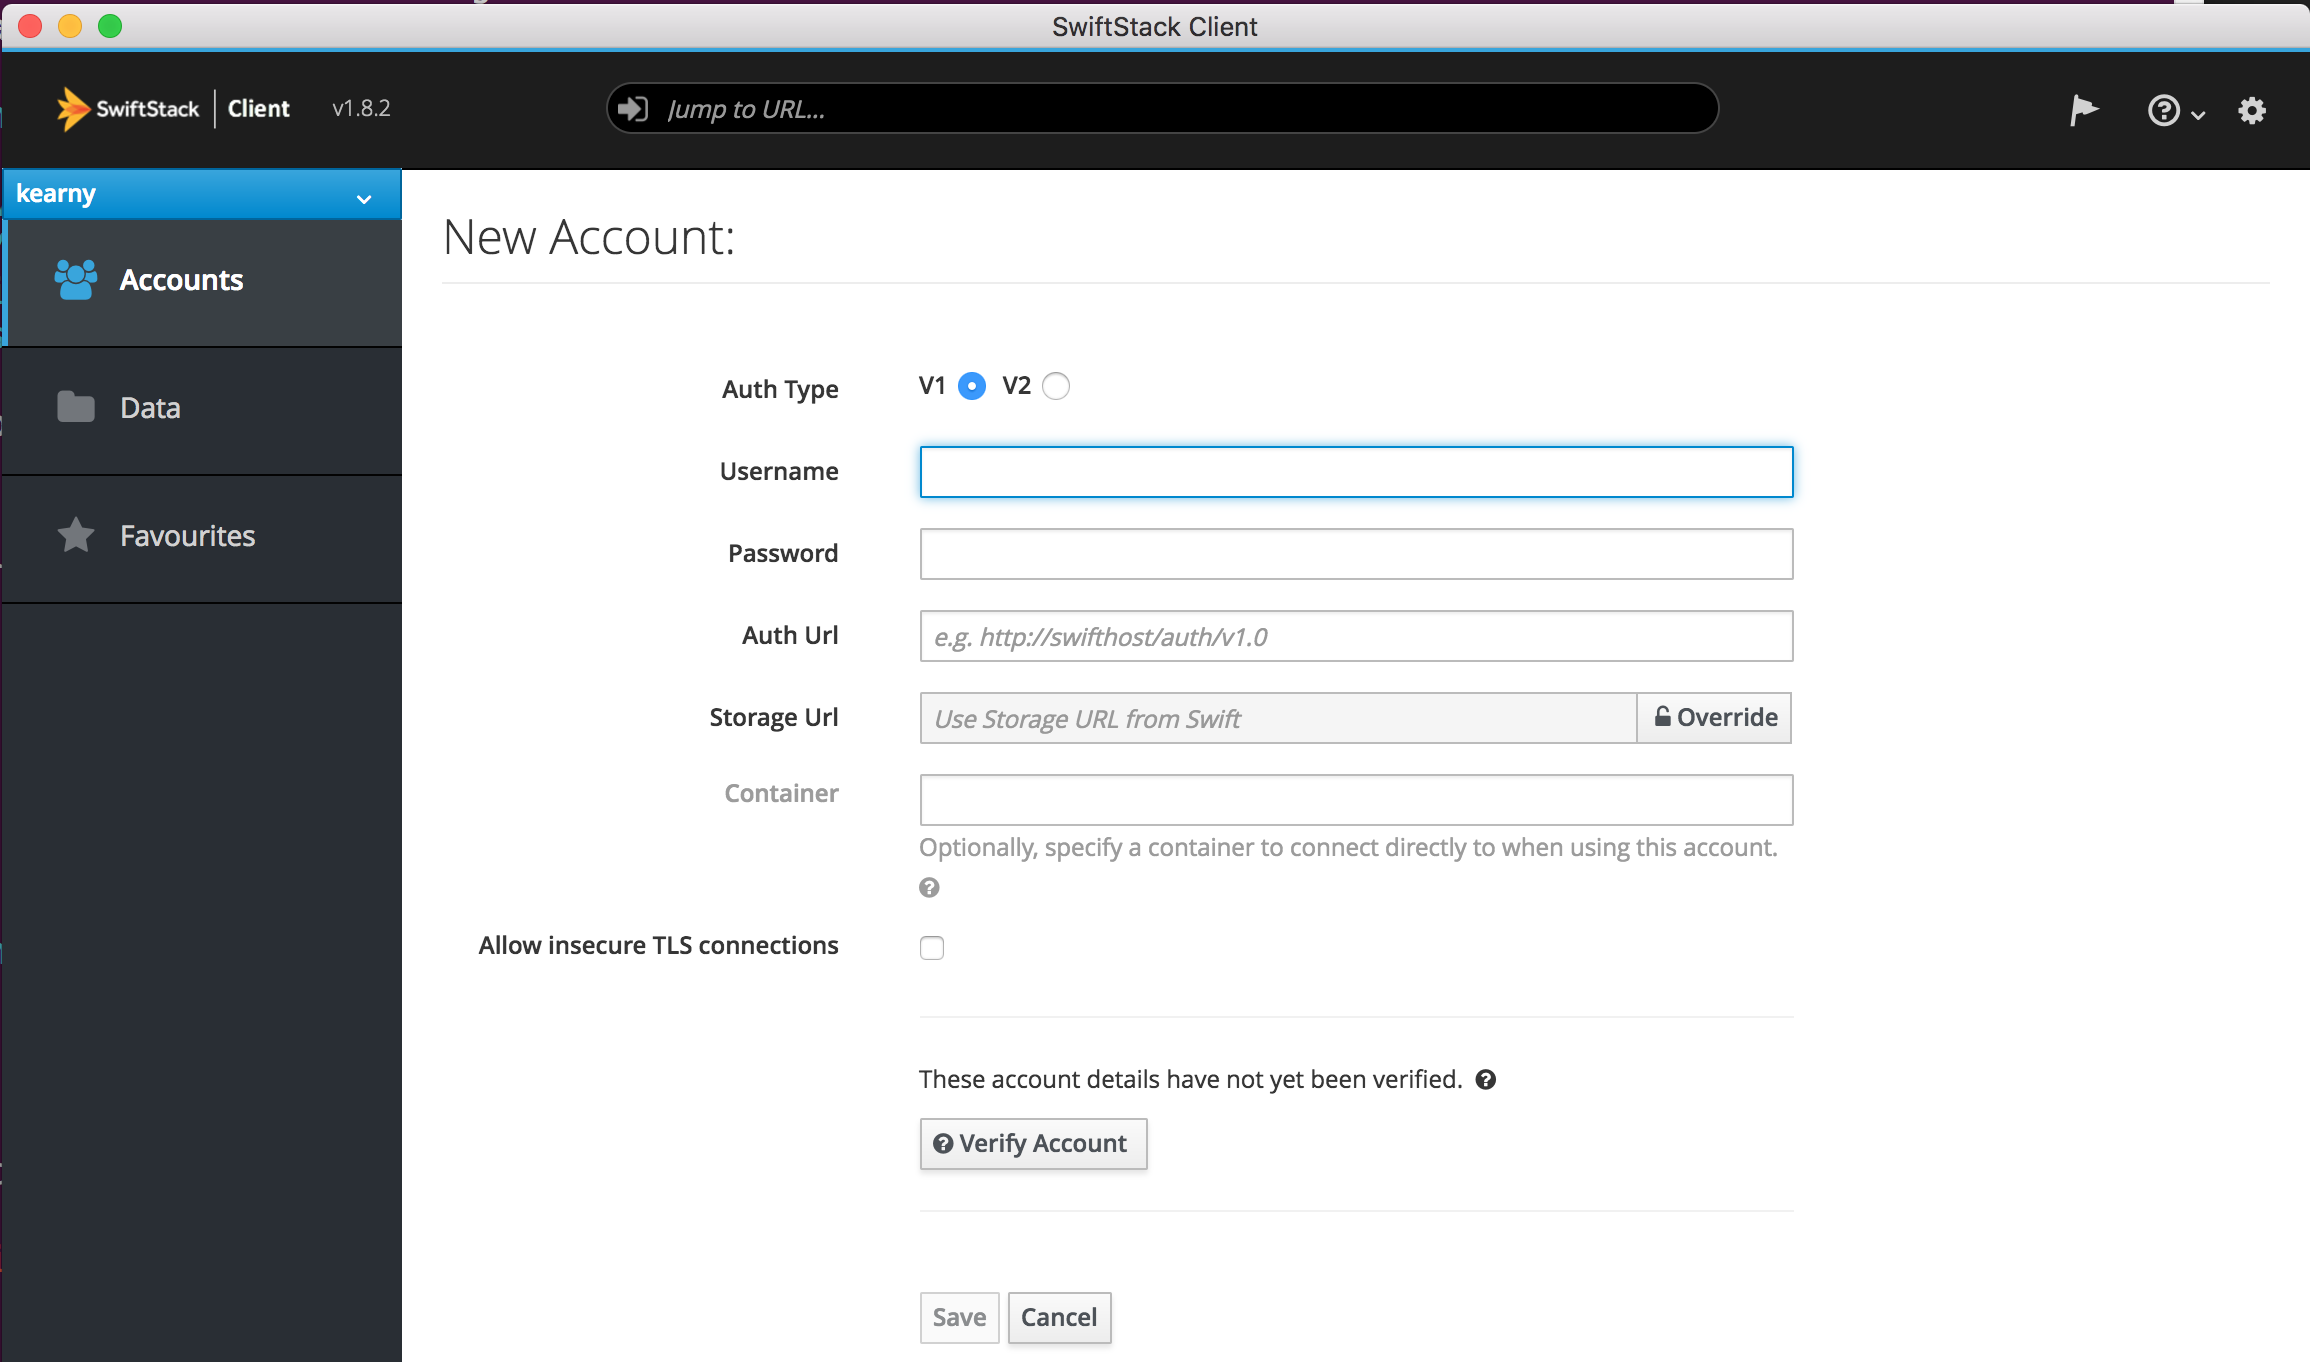
Credentials and URL
Use the same username / password created during the Adding a Storage Account step.
To find the Auth URL, navigate to the Cluster detail page on the SwiftStack Controller. On this page is a list of URLs used when configuring storage.
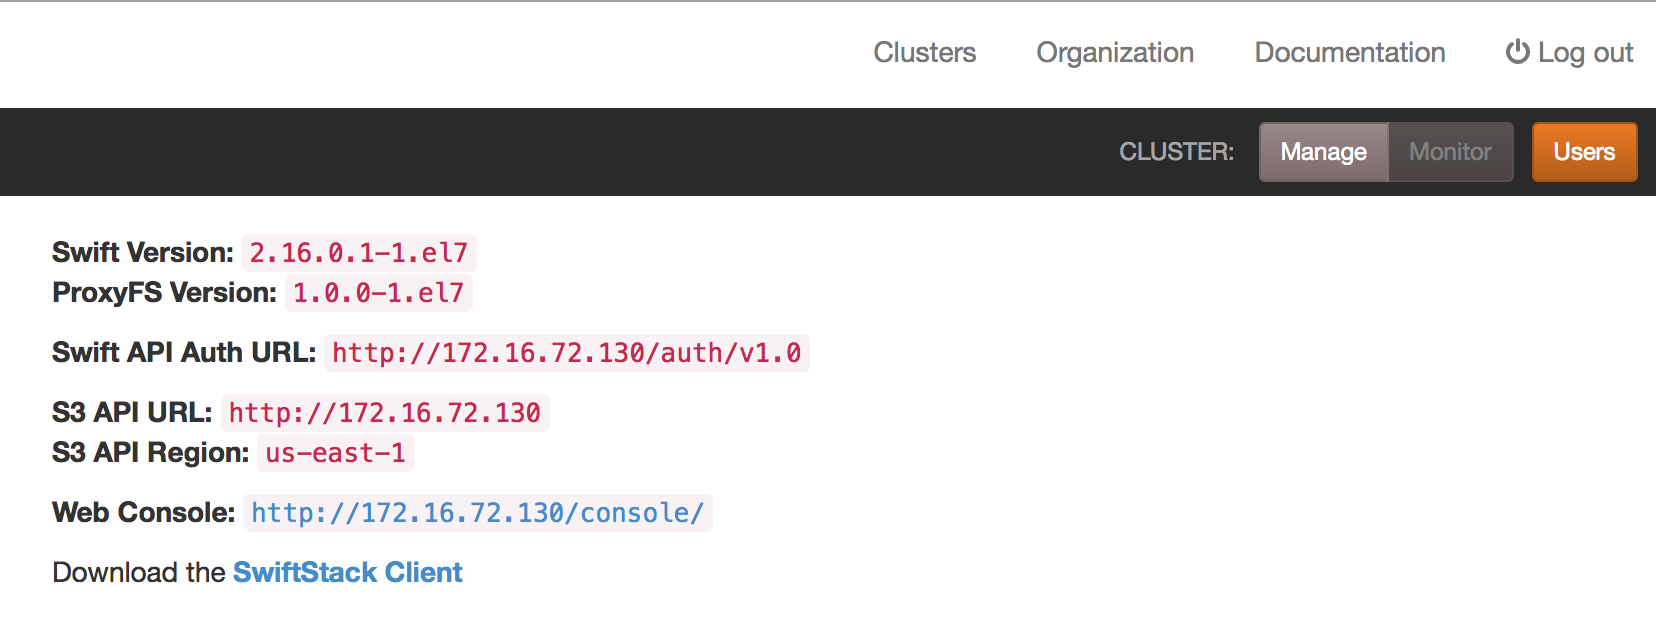
Copy the Swift API Auth URL and paste it in the Auth URL field on the SwiftStack Client.
Verify and Save Account
Optionally, you may click on the Verify Account button to ensure that the account information is correct and the client can connect to the storage location.
Lastly, save the account, and select the account to view the list of containers/buckets in the account.
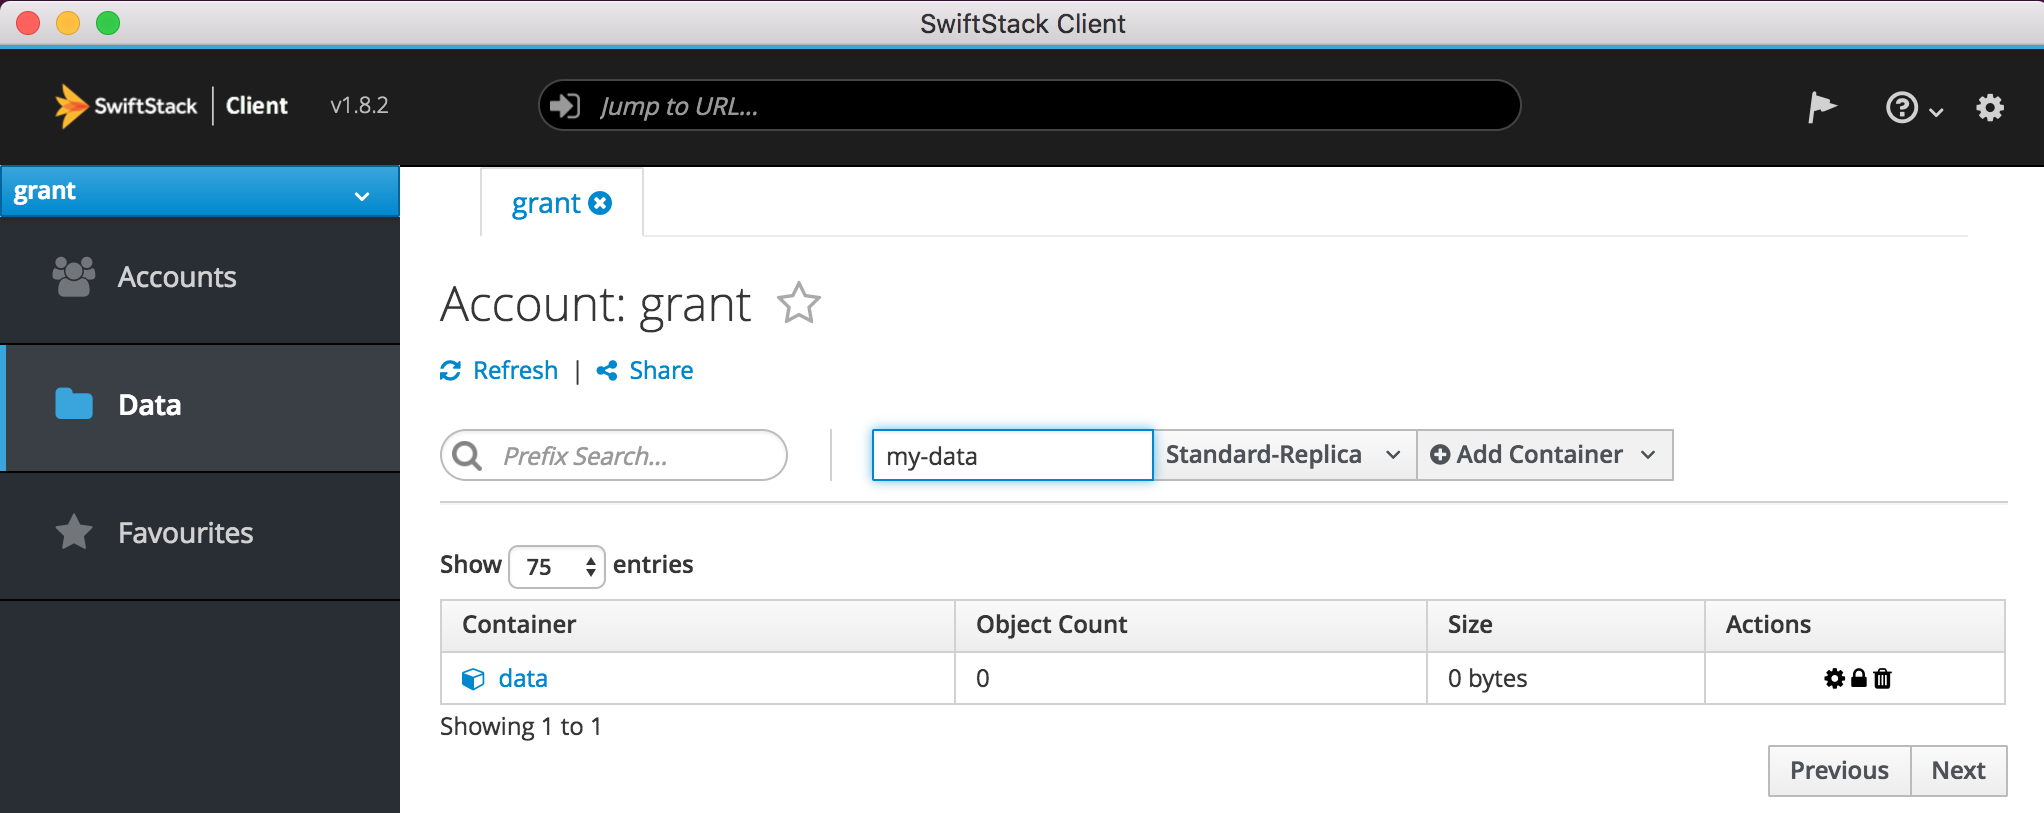
Create Container / Bucket & Upload Data
Next, enter the name of a container / bucket to create and click 'Add Container'.
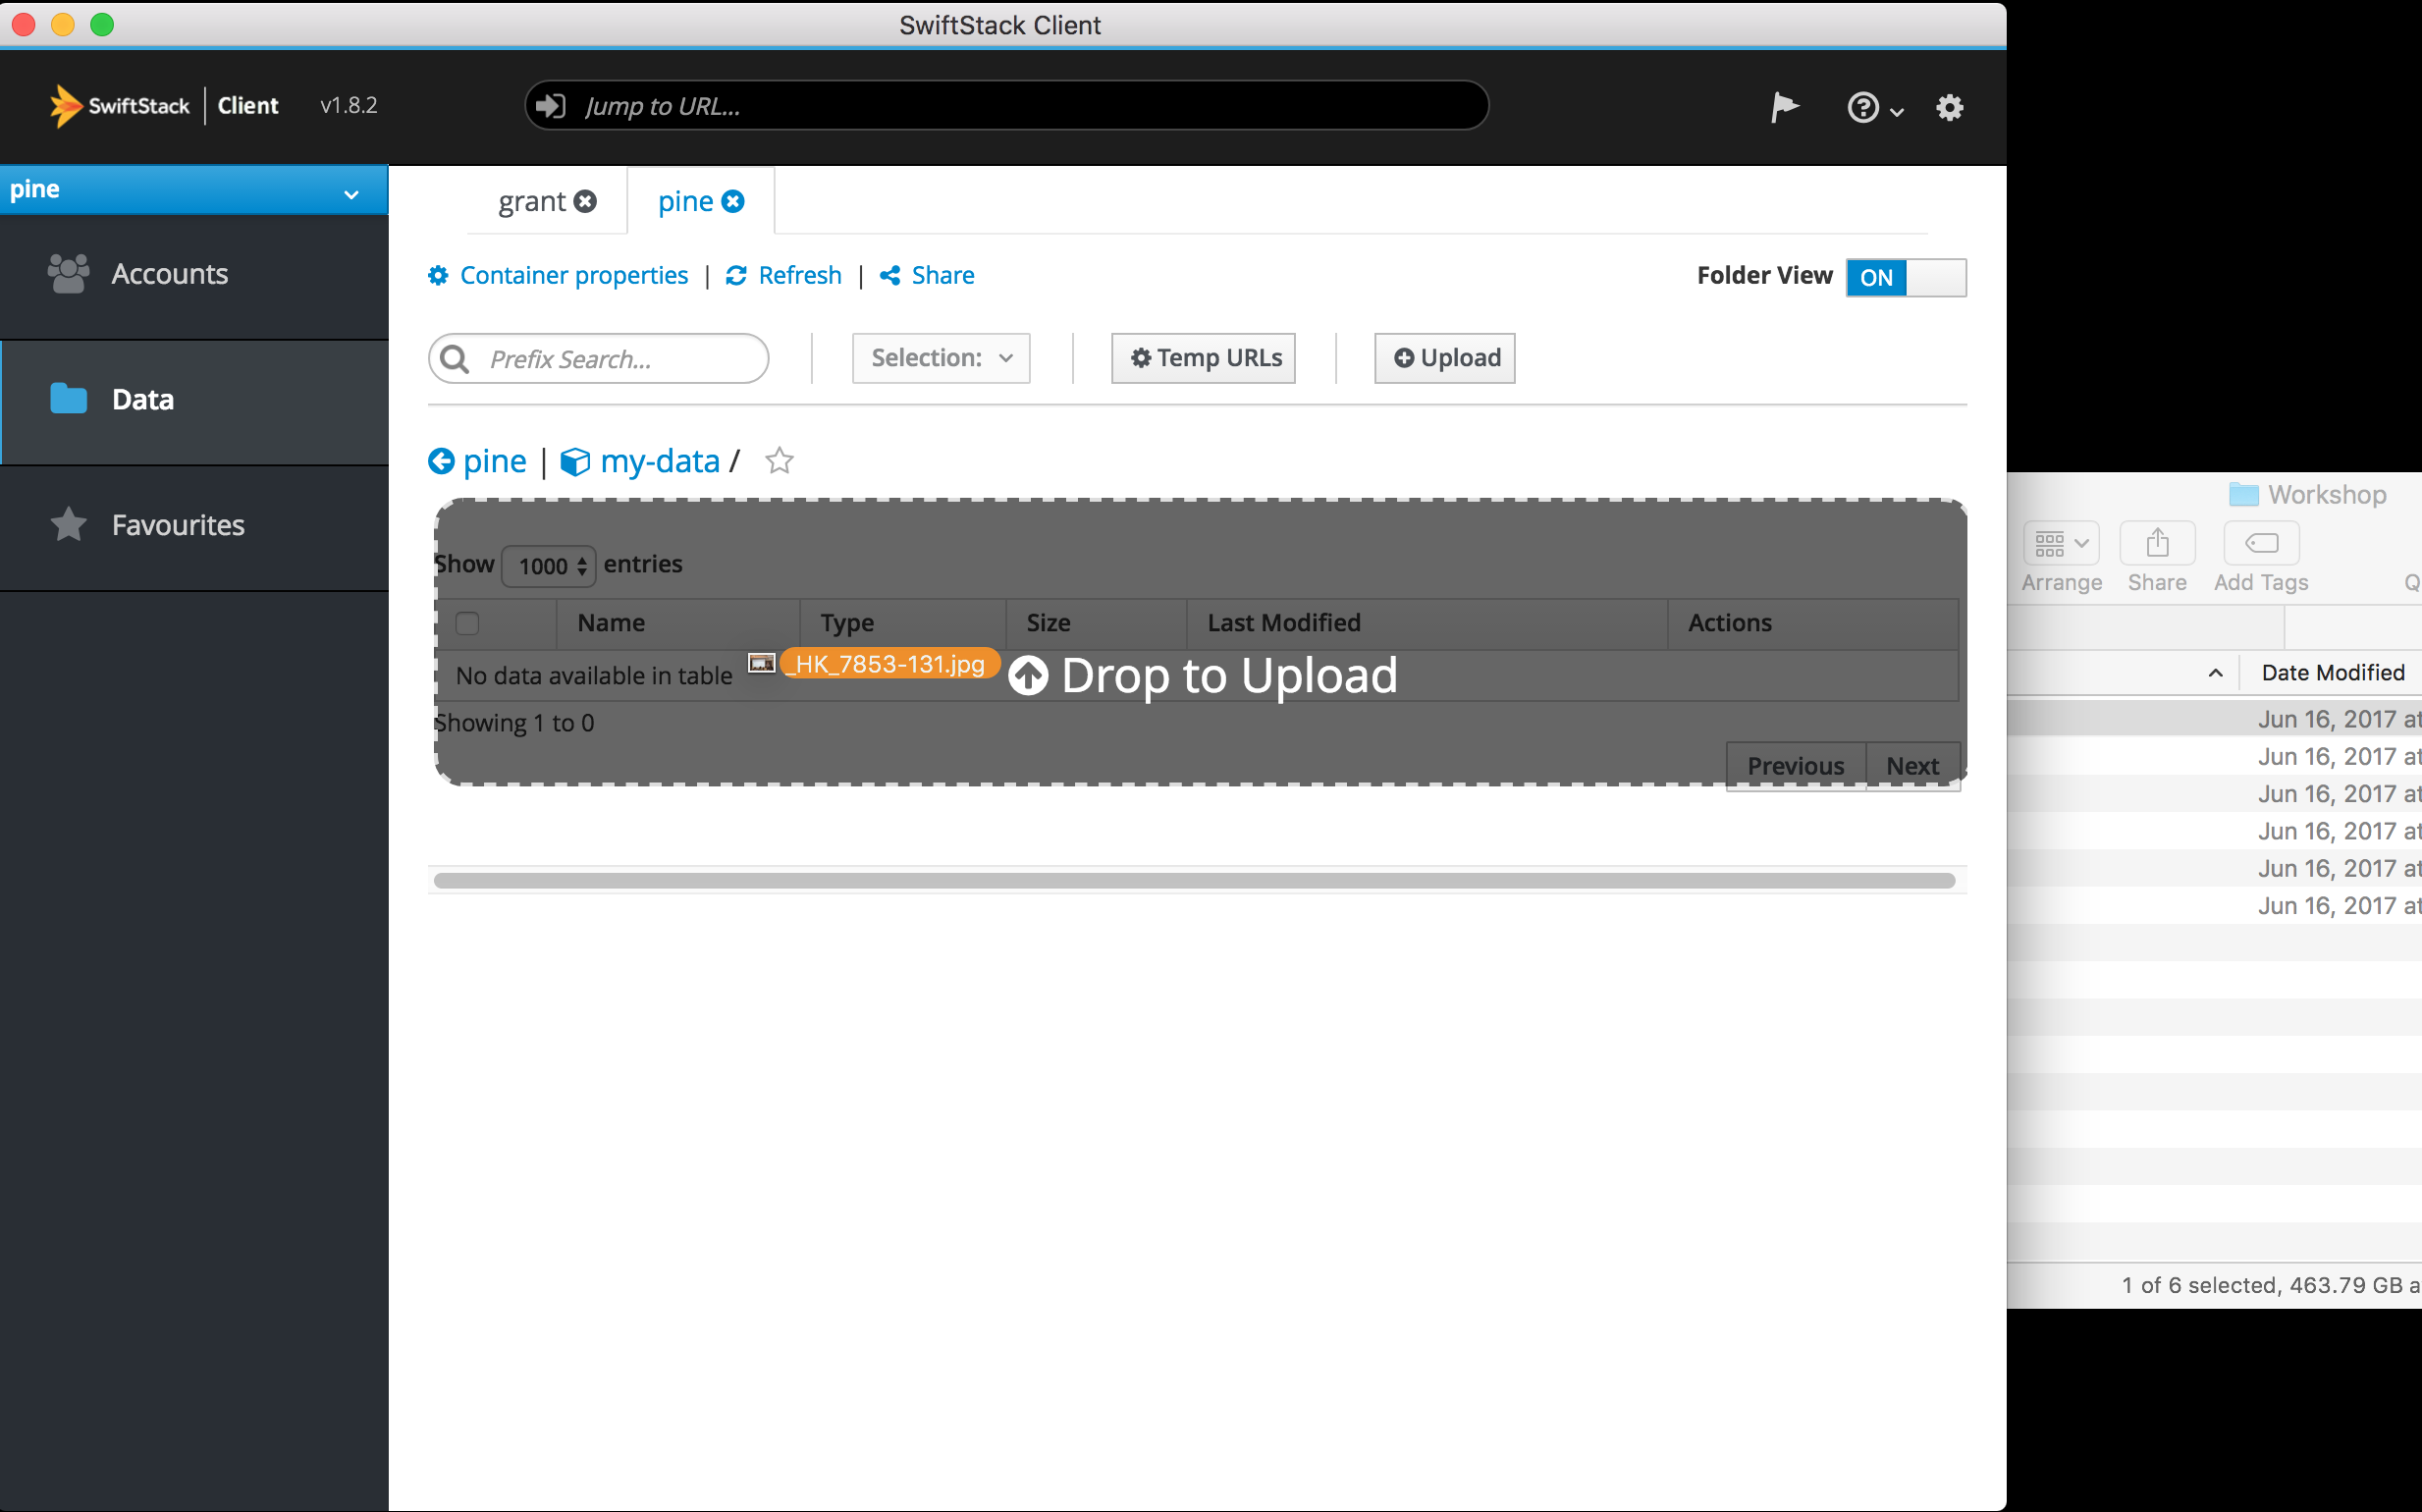
Drag and drop a file into the newly-created container / bucket.
Viewing/Modifying Metadata
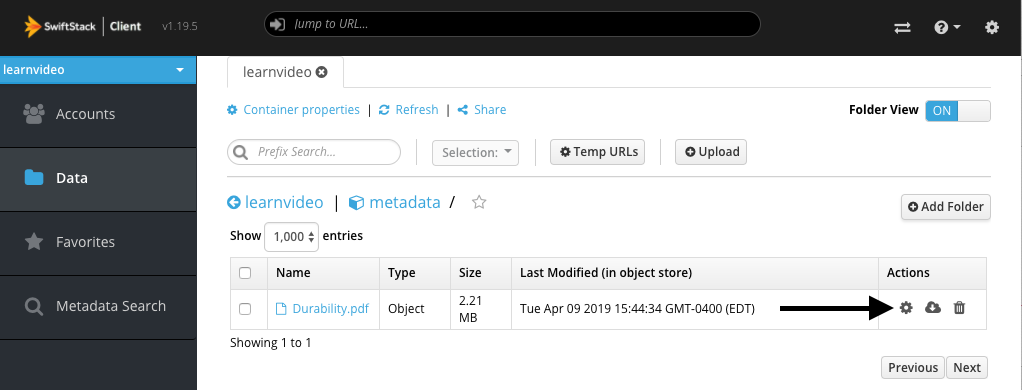
Now that you have uploaded objects into your container you can view the properties of those objects by clicking the gear icon.
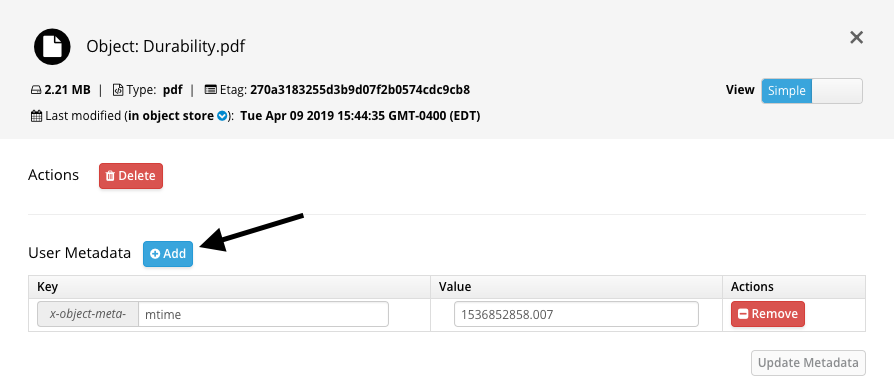
You can now add metadata to the object by clicking the Add Metadata button.
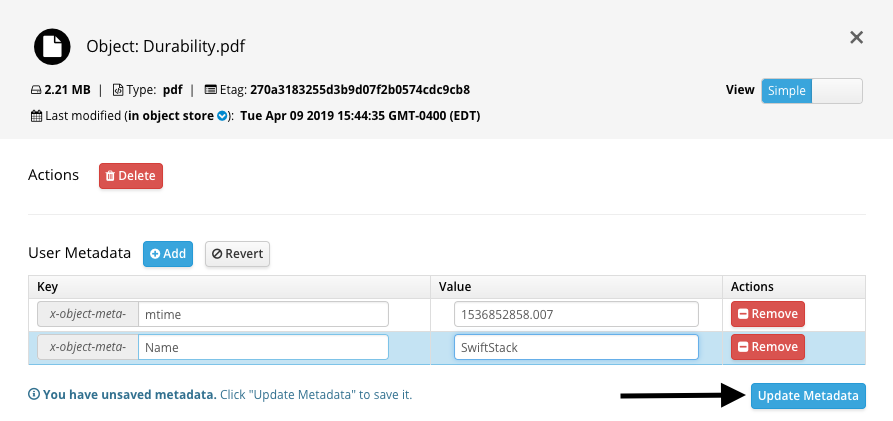
Once you have added the metadata to the object click the Update Metadata button.
S3 API Usage
For S3 client configuration information: Configuring S3 Clients.
Next Steps
The next step is Configuring 1space.