Configuring 1space
SwiftStack provides the ability to leverage multiple cloud storage endpoints to lifecycle data, synchronize data and migrate data. SwiftStack's multi-cloud functionality integrates external storage buckets to create a single view of the data as it is moved, so users and applications retain access data without needing to change the API or API endpoint.
Archive SwiftStack Logs
SwiftStack automatically stores system log information in a compressed format in the storage system itself. Over the next few steps, we will configure the cluster to automatically lifecycle those logs to the public cloud.
In this example, we will create a lifecycle storage policy with Google Cloud. However, SwiftStack can be configured with any AWS S3 API or Swift API storage endpoints.
Google Cloud Storage
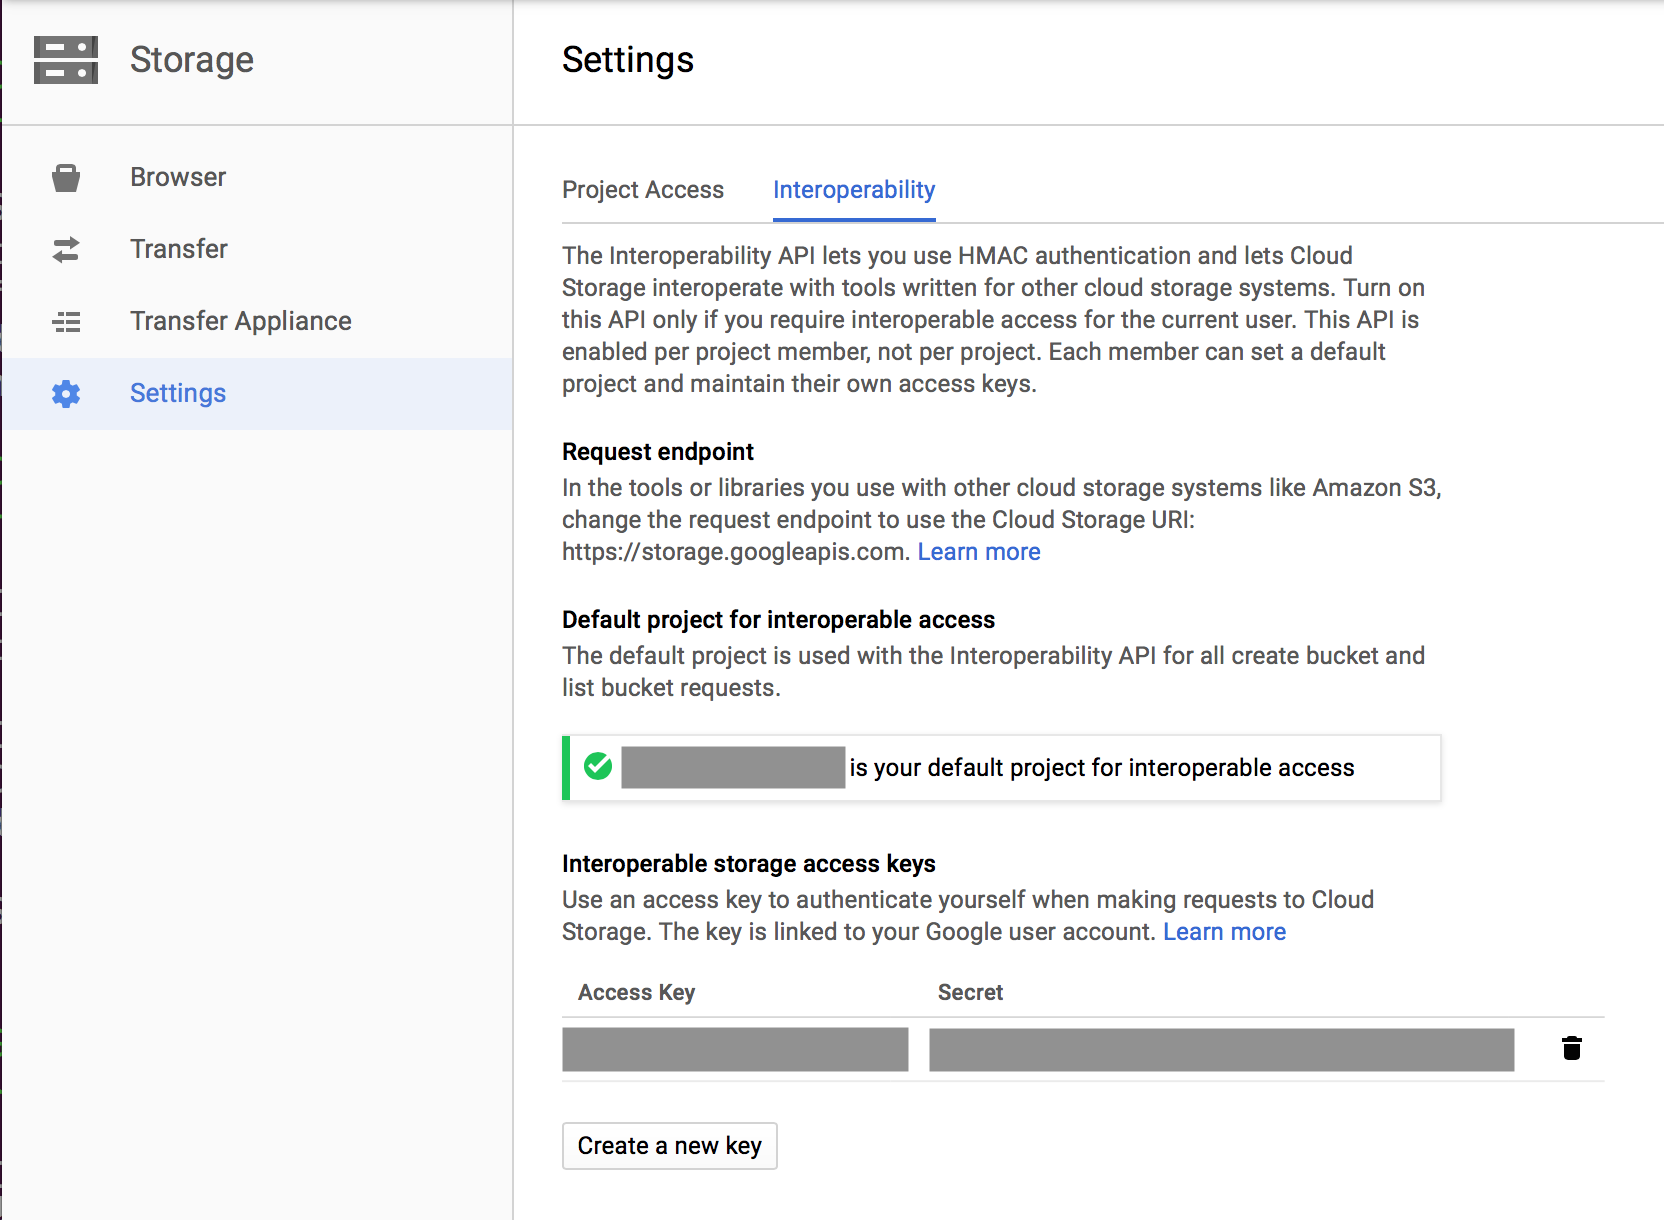
If you haven't already, enable S3 Interoperability by navigating to the Cloud Storage Settings page.
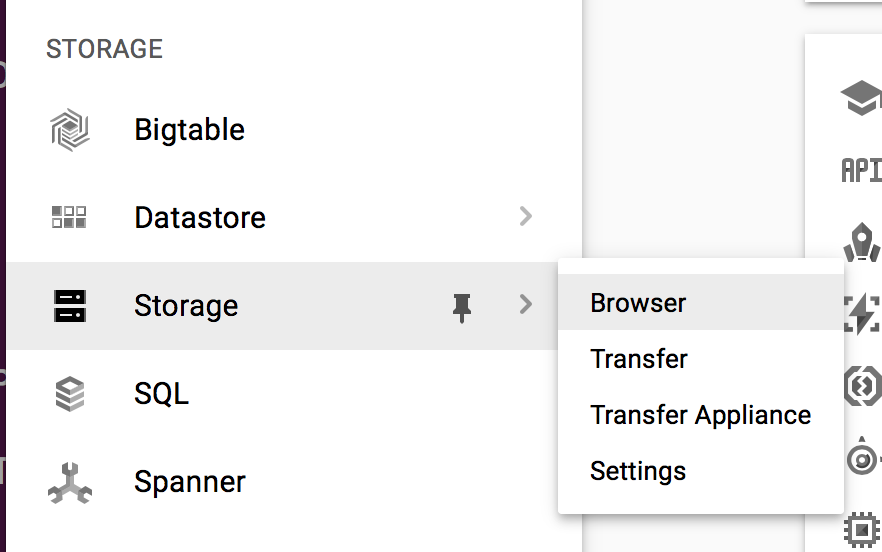
- Select Interoperability
- Click Make this my default project
- Click Create a new key
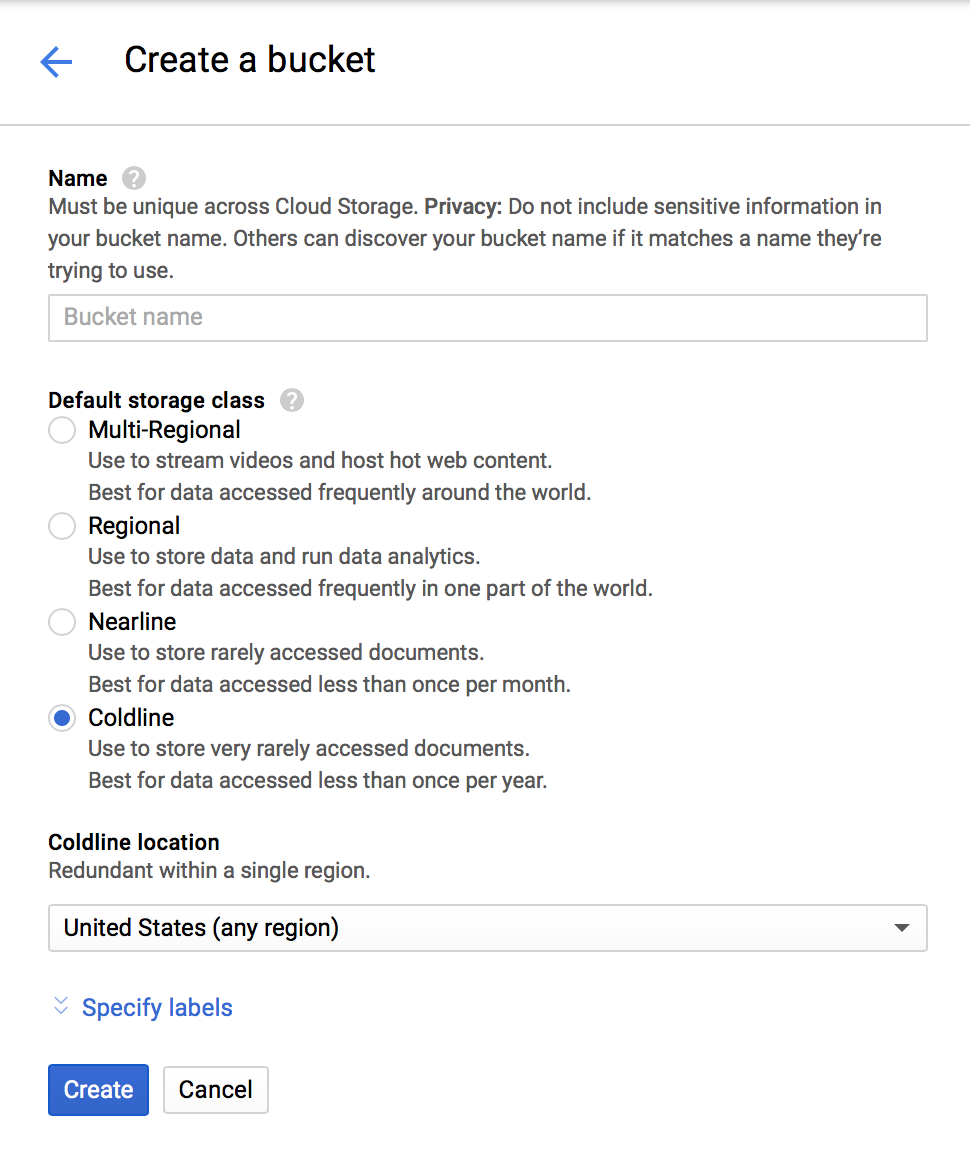
Next, create a bucket. In this example, we will create an archive storage policy with Google Cloud Coldline storage class which is used to store very rarely accessed documents. Be sure to select the appropriate storage class for your data.
Configure Archive Storage Profile
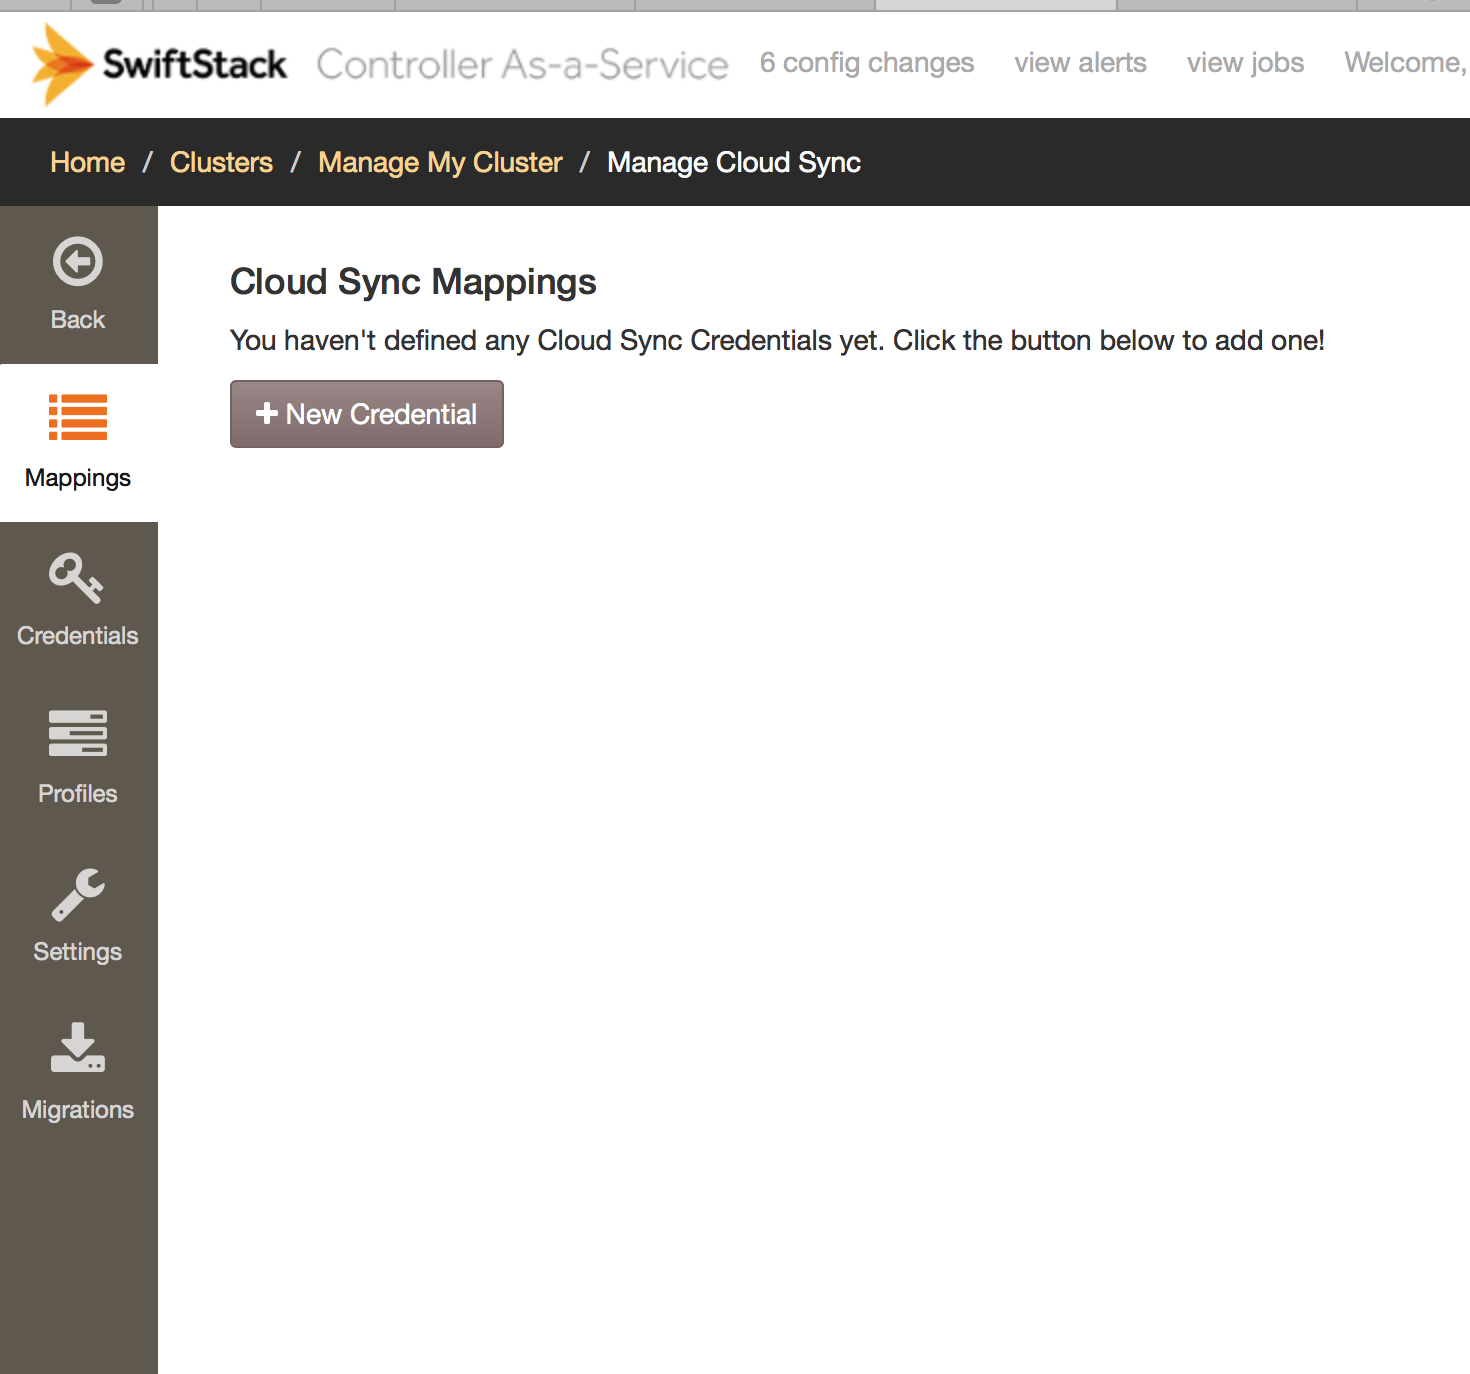
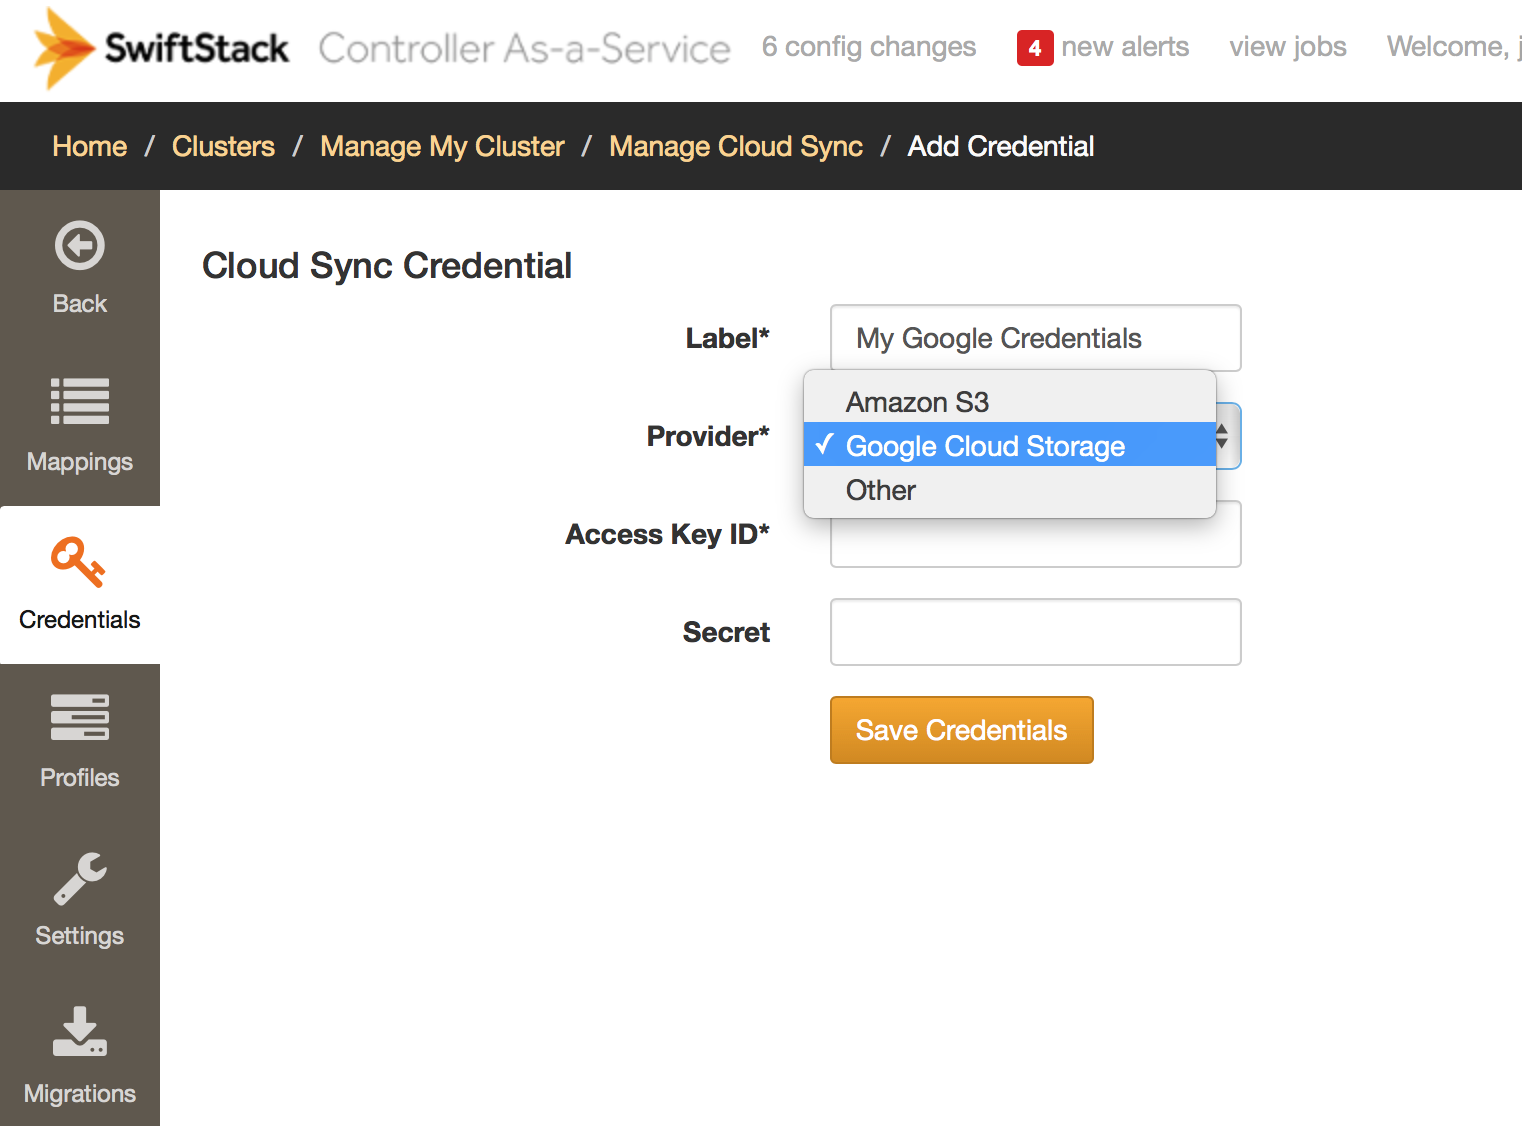
In the SwiftStack Controller, from the Cluster manage page, navigate to the 1space tab. Then, click the New Credential button.
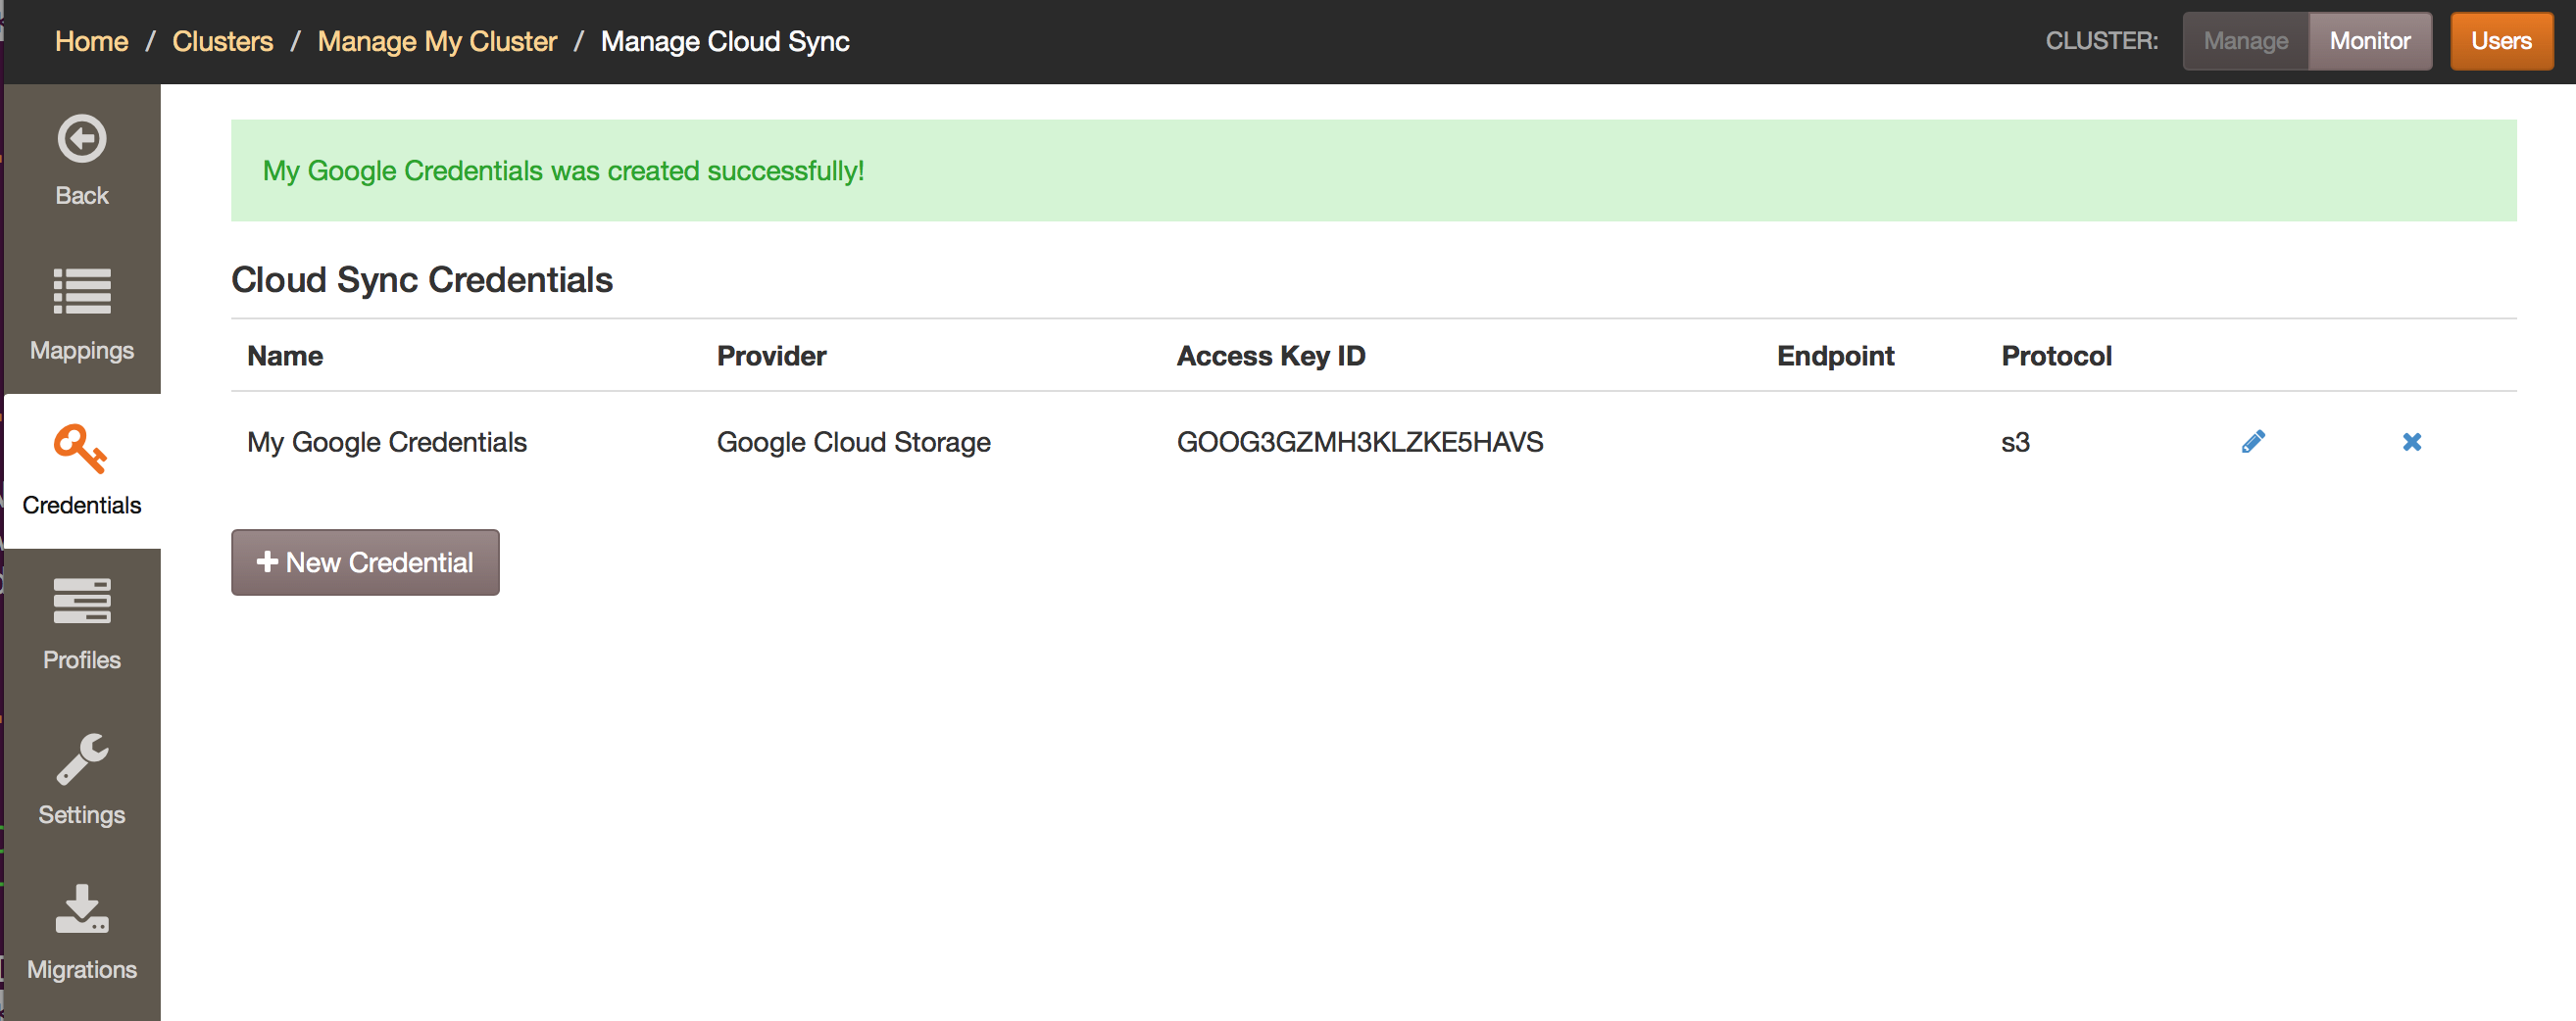
On the 1space Credentials page, create a label for your credential, select Google Cloud Storage and enter the Access Key ID and Secret previously created in the Google Cloud console.
Next, create a 1space Profile by navigating to the Profiles tab on the left navigation.
Click the New Profile button and create a new archive profile.
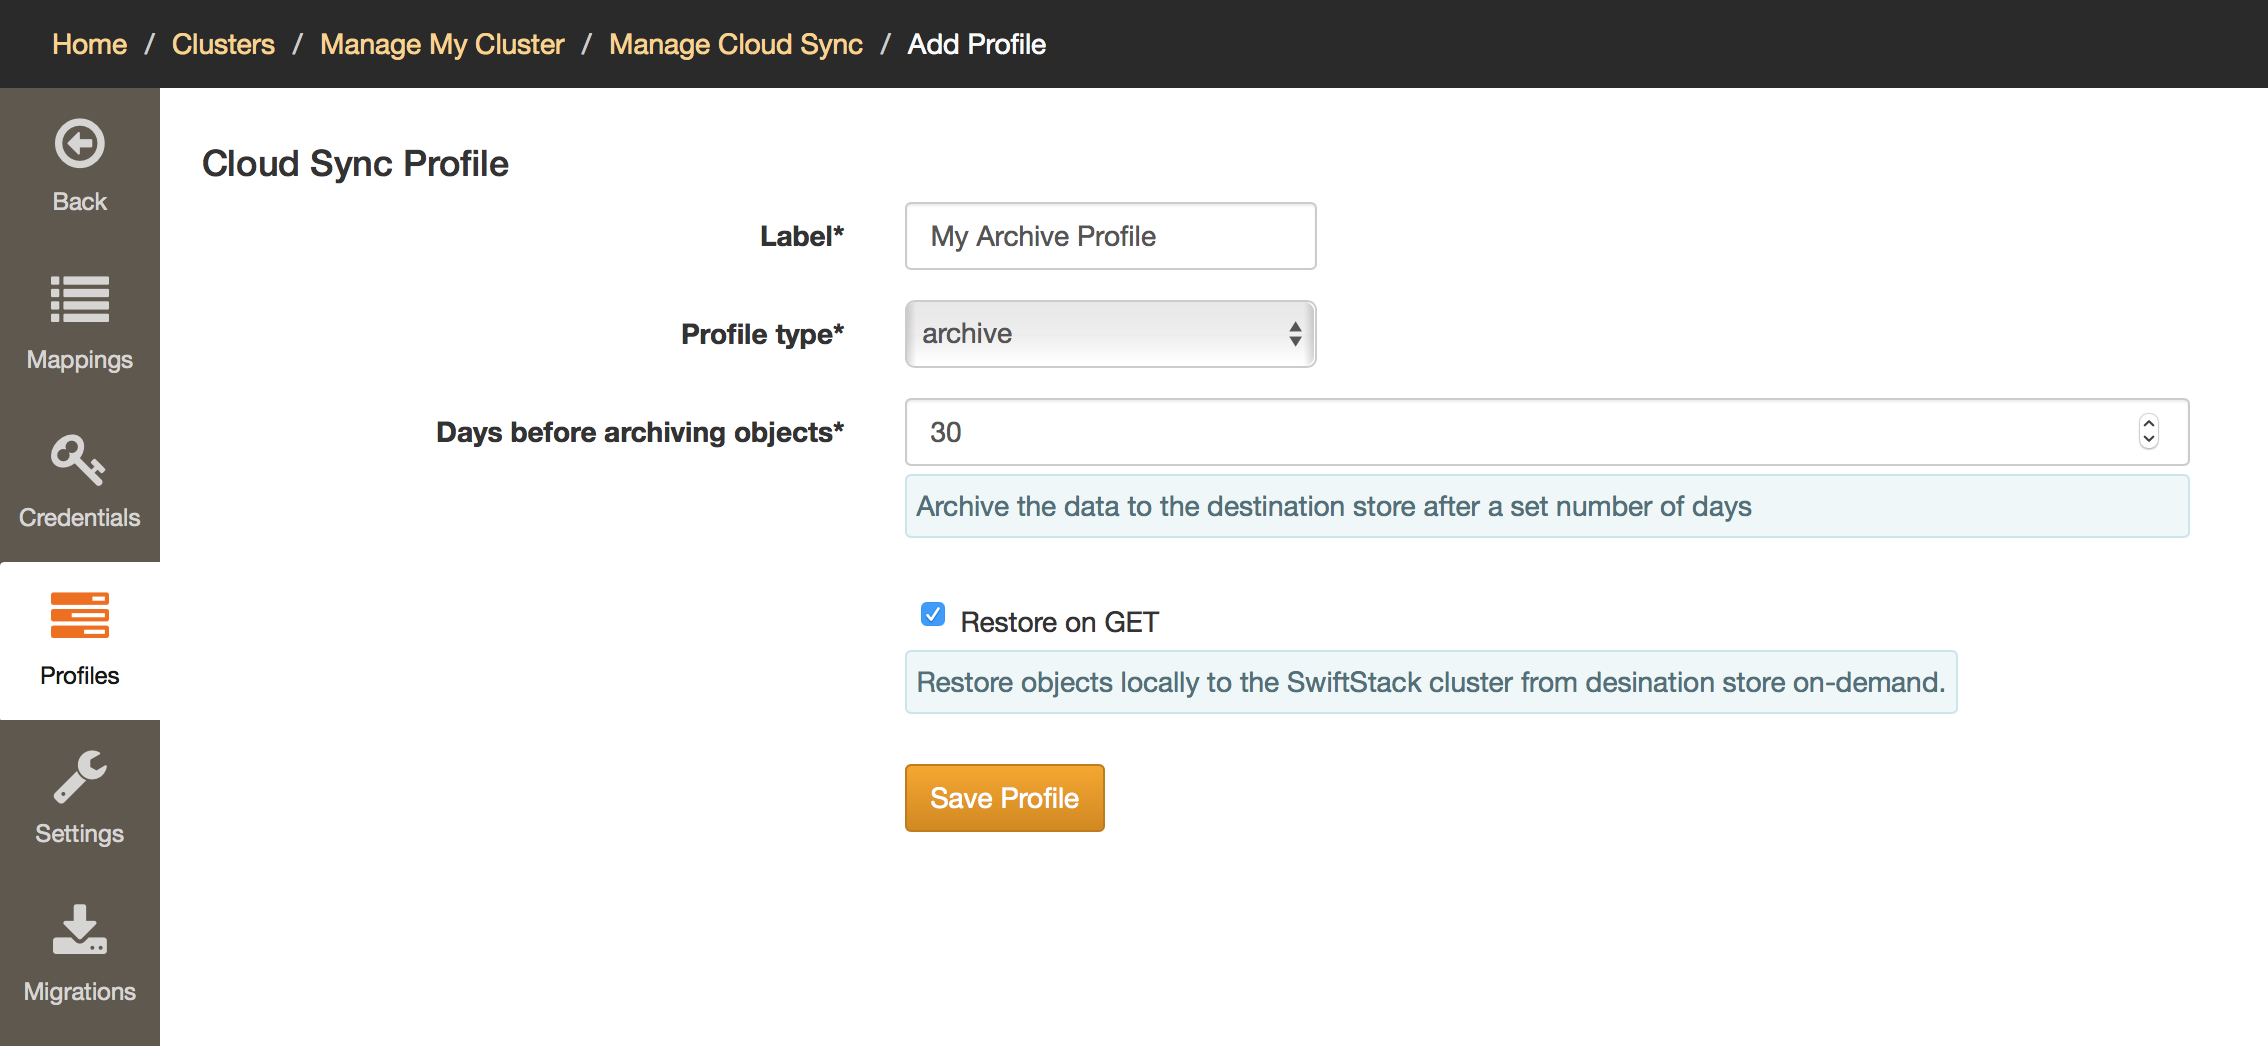
In this example, the data will be automatically tiered after 30 days. By selecting Restore on GET requests for the data, will restore the data locally in the cluster and reset the 30-day lifecycle timer..
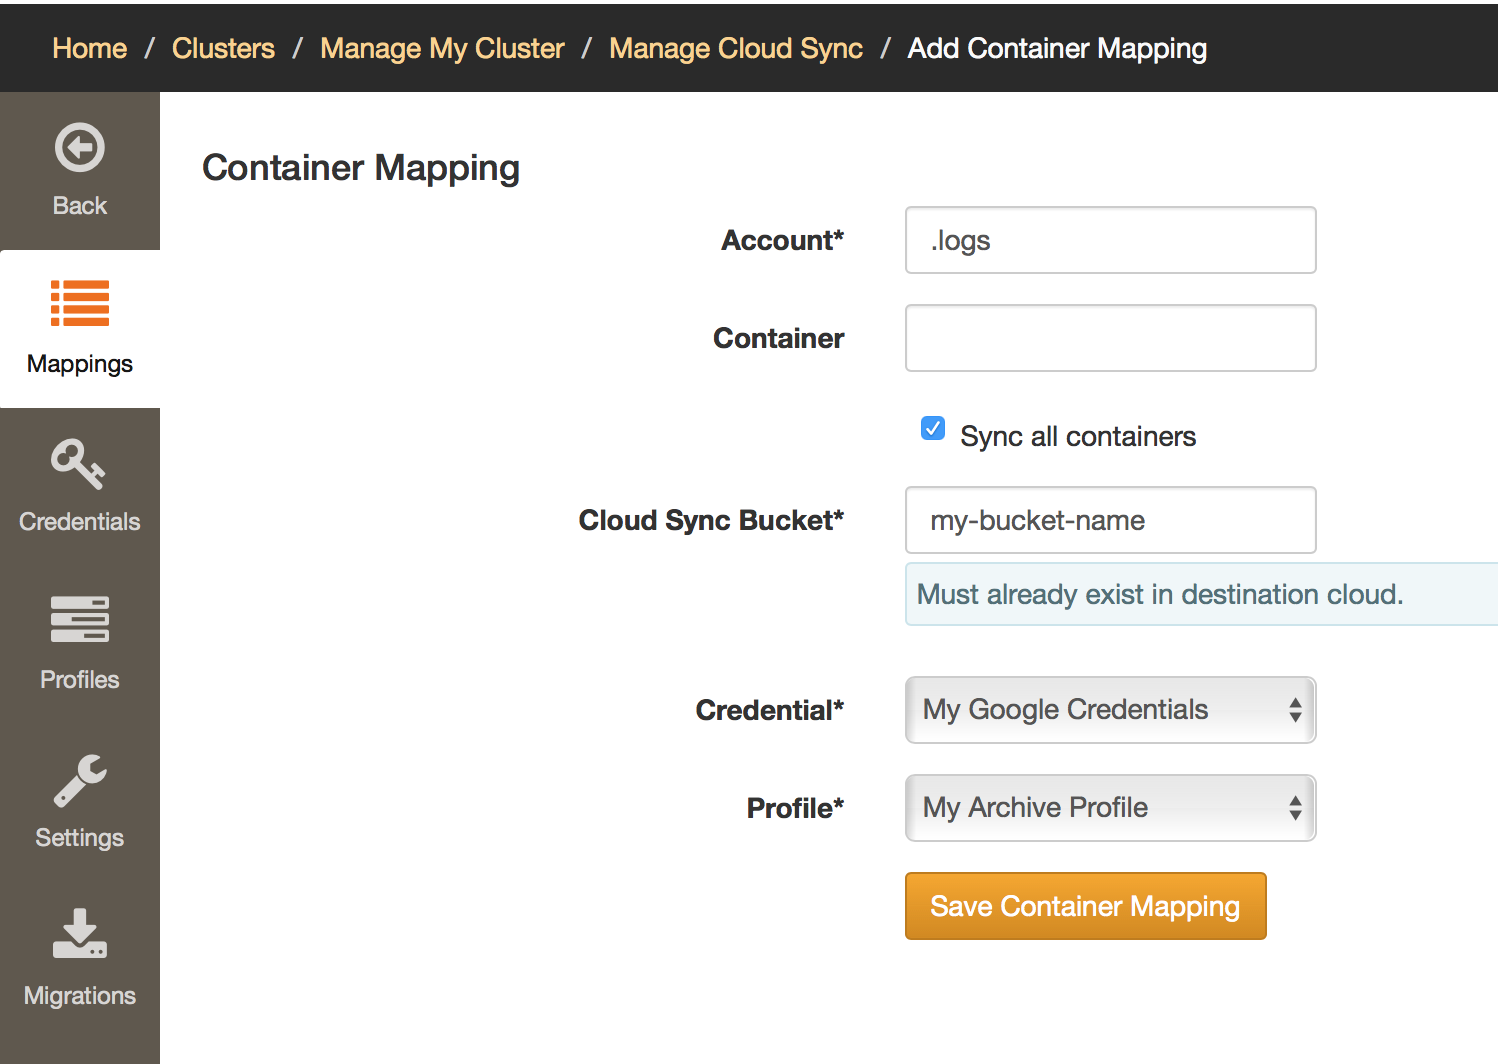
Next, create a mapping. In this example, log data is stored in the .logs account. Leave Container empty and select Sync all containers.
Finish the mapping configuration by entering in the 1space Bucket created in the Google Cloud Storage console and select the Credential and Profile we previously created.
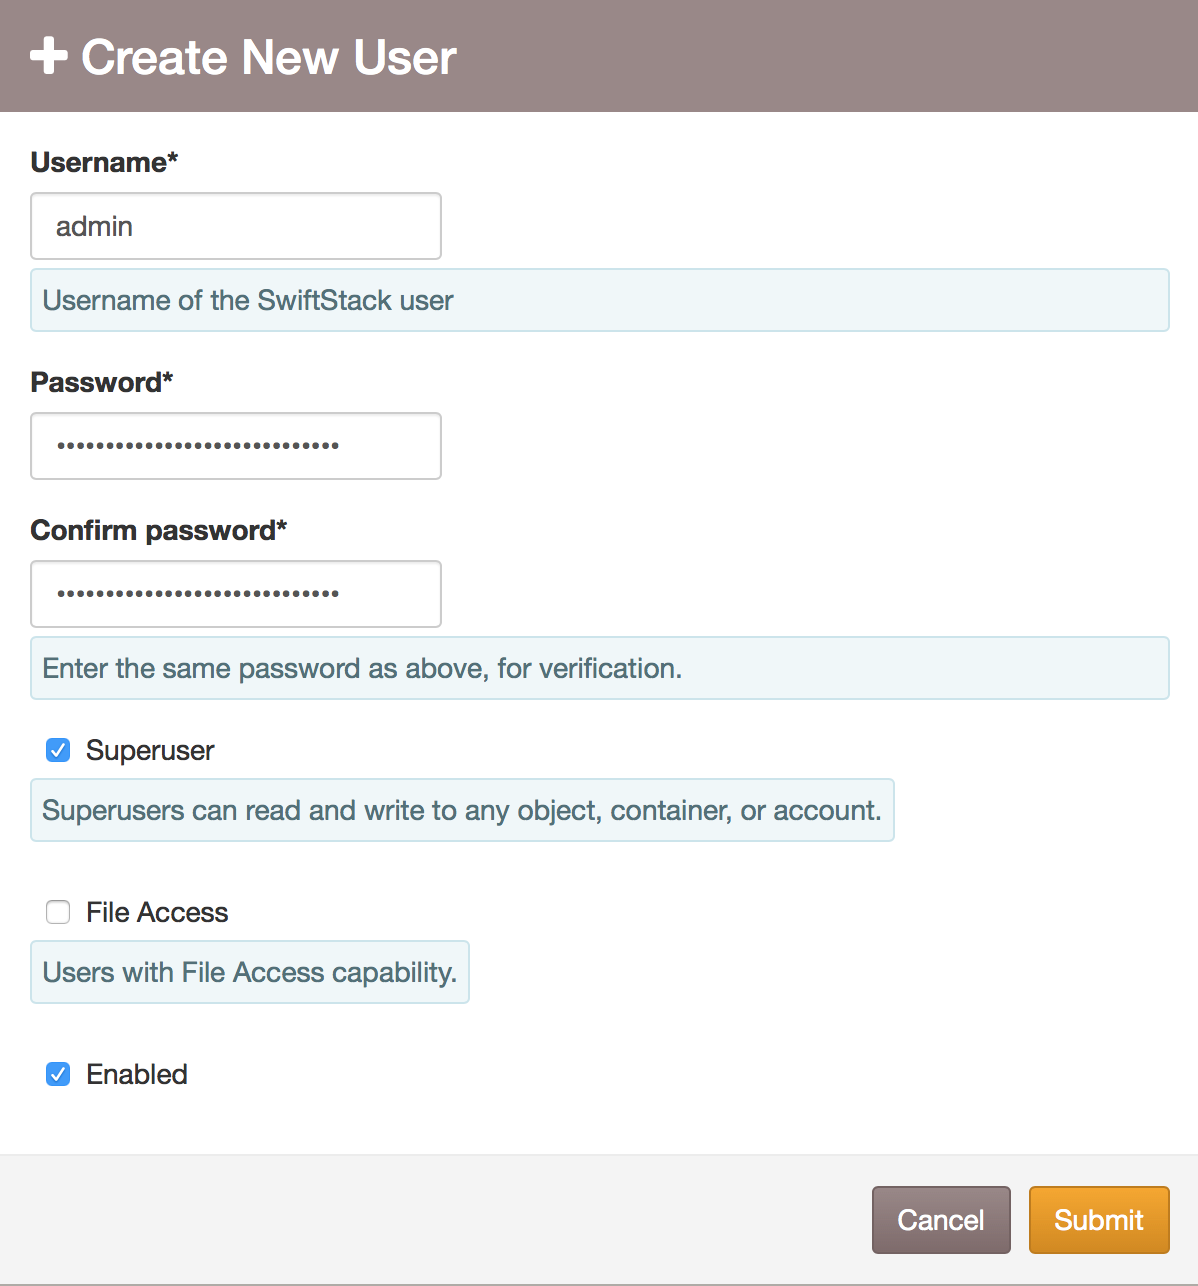
Finally, to view the .logs account, you must enable a superuser account in the SwiftStack cluster. The superuser may be enabled/disabled at any time.
Navigate to the upper-left menu and click Users. From there, click Create New User to create a superuser account. Be sure to select Superuser checkbox.
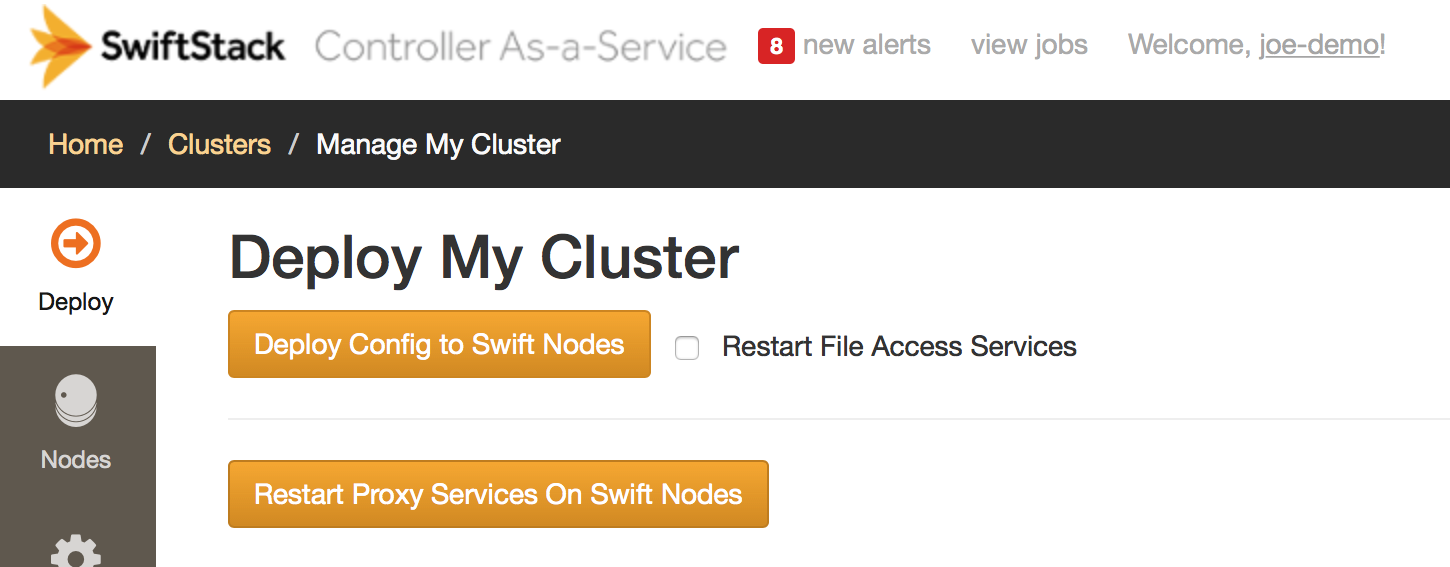
Now that the configuration is complete, navigate to the Manage Cluster on the top-left. Then, Deploy Config to Swift Nodes.
Viewing the data
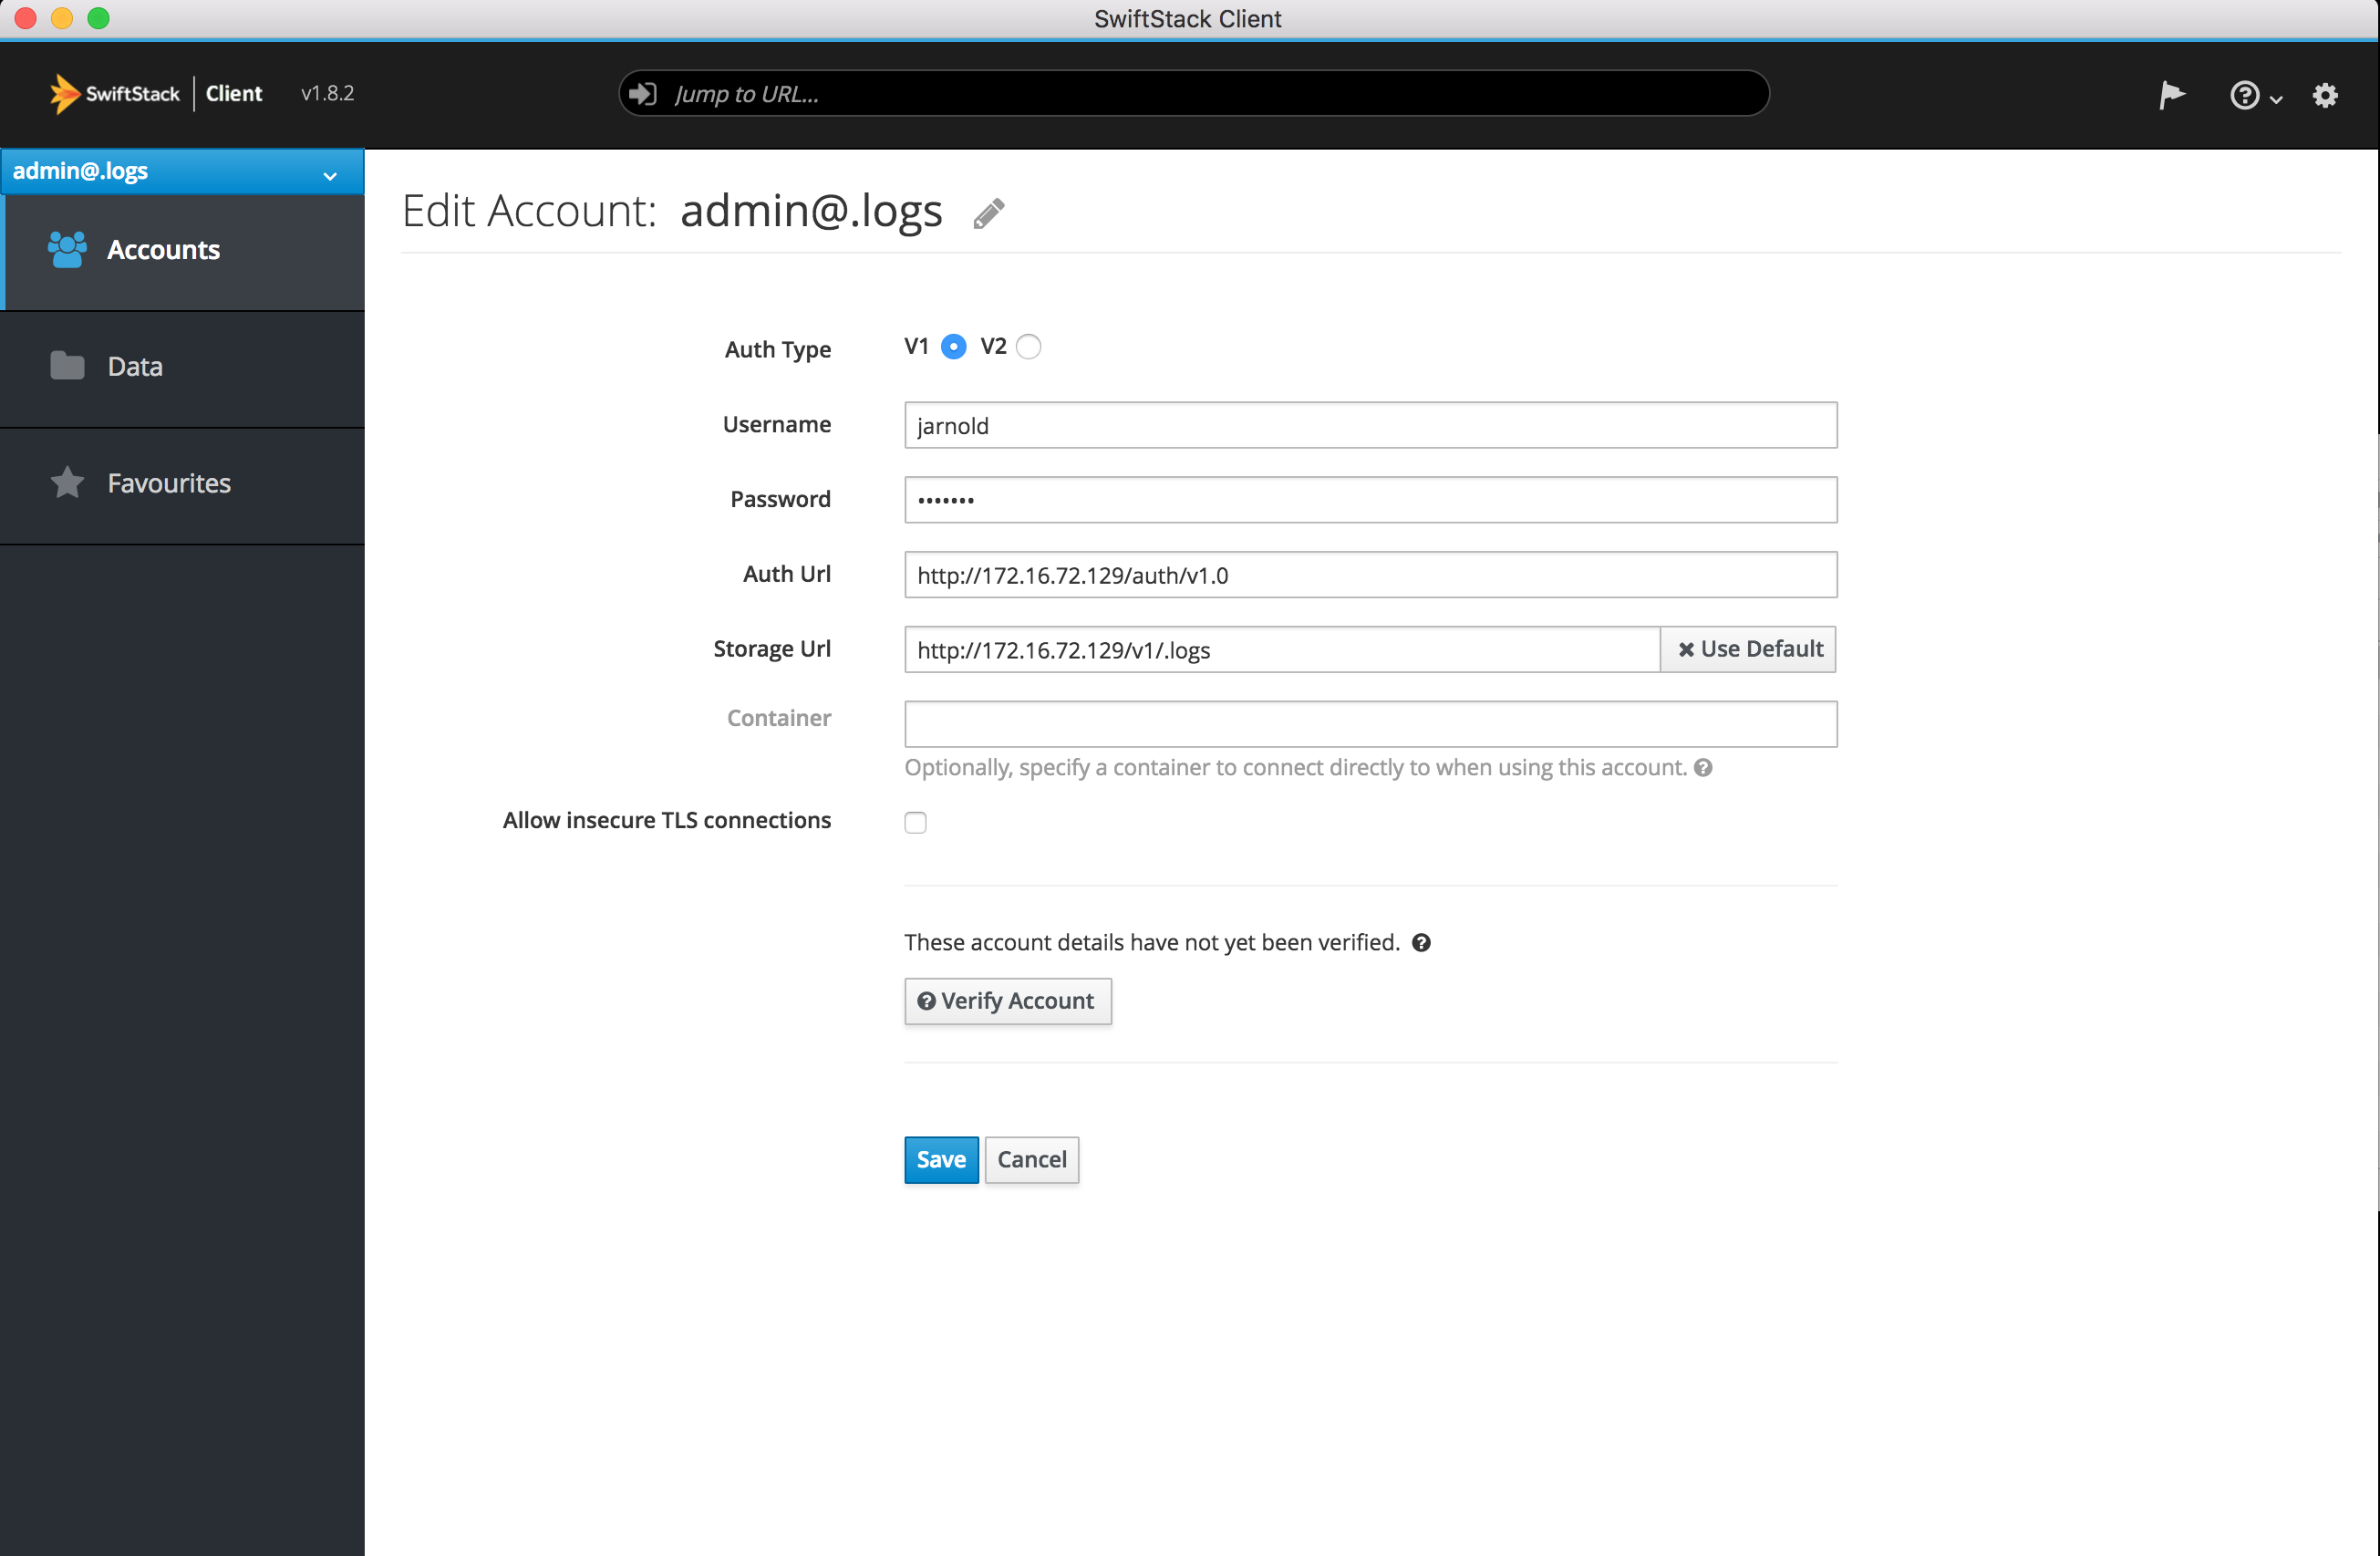
In the SwiftStack Client, create a new account for your admin user with superuser privileges. Click the Override for Storage URL and enter in storage hostname/v1/.logs
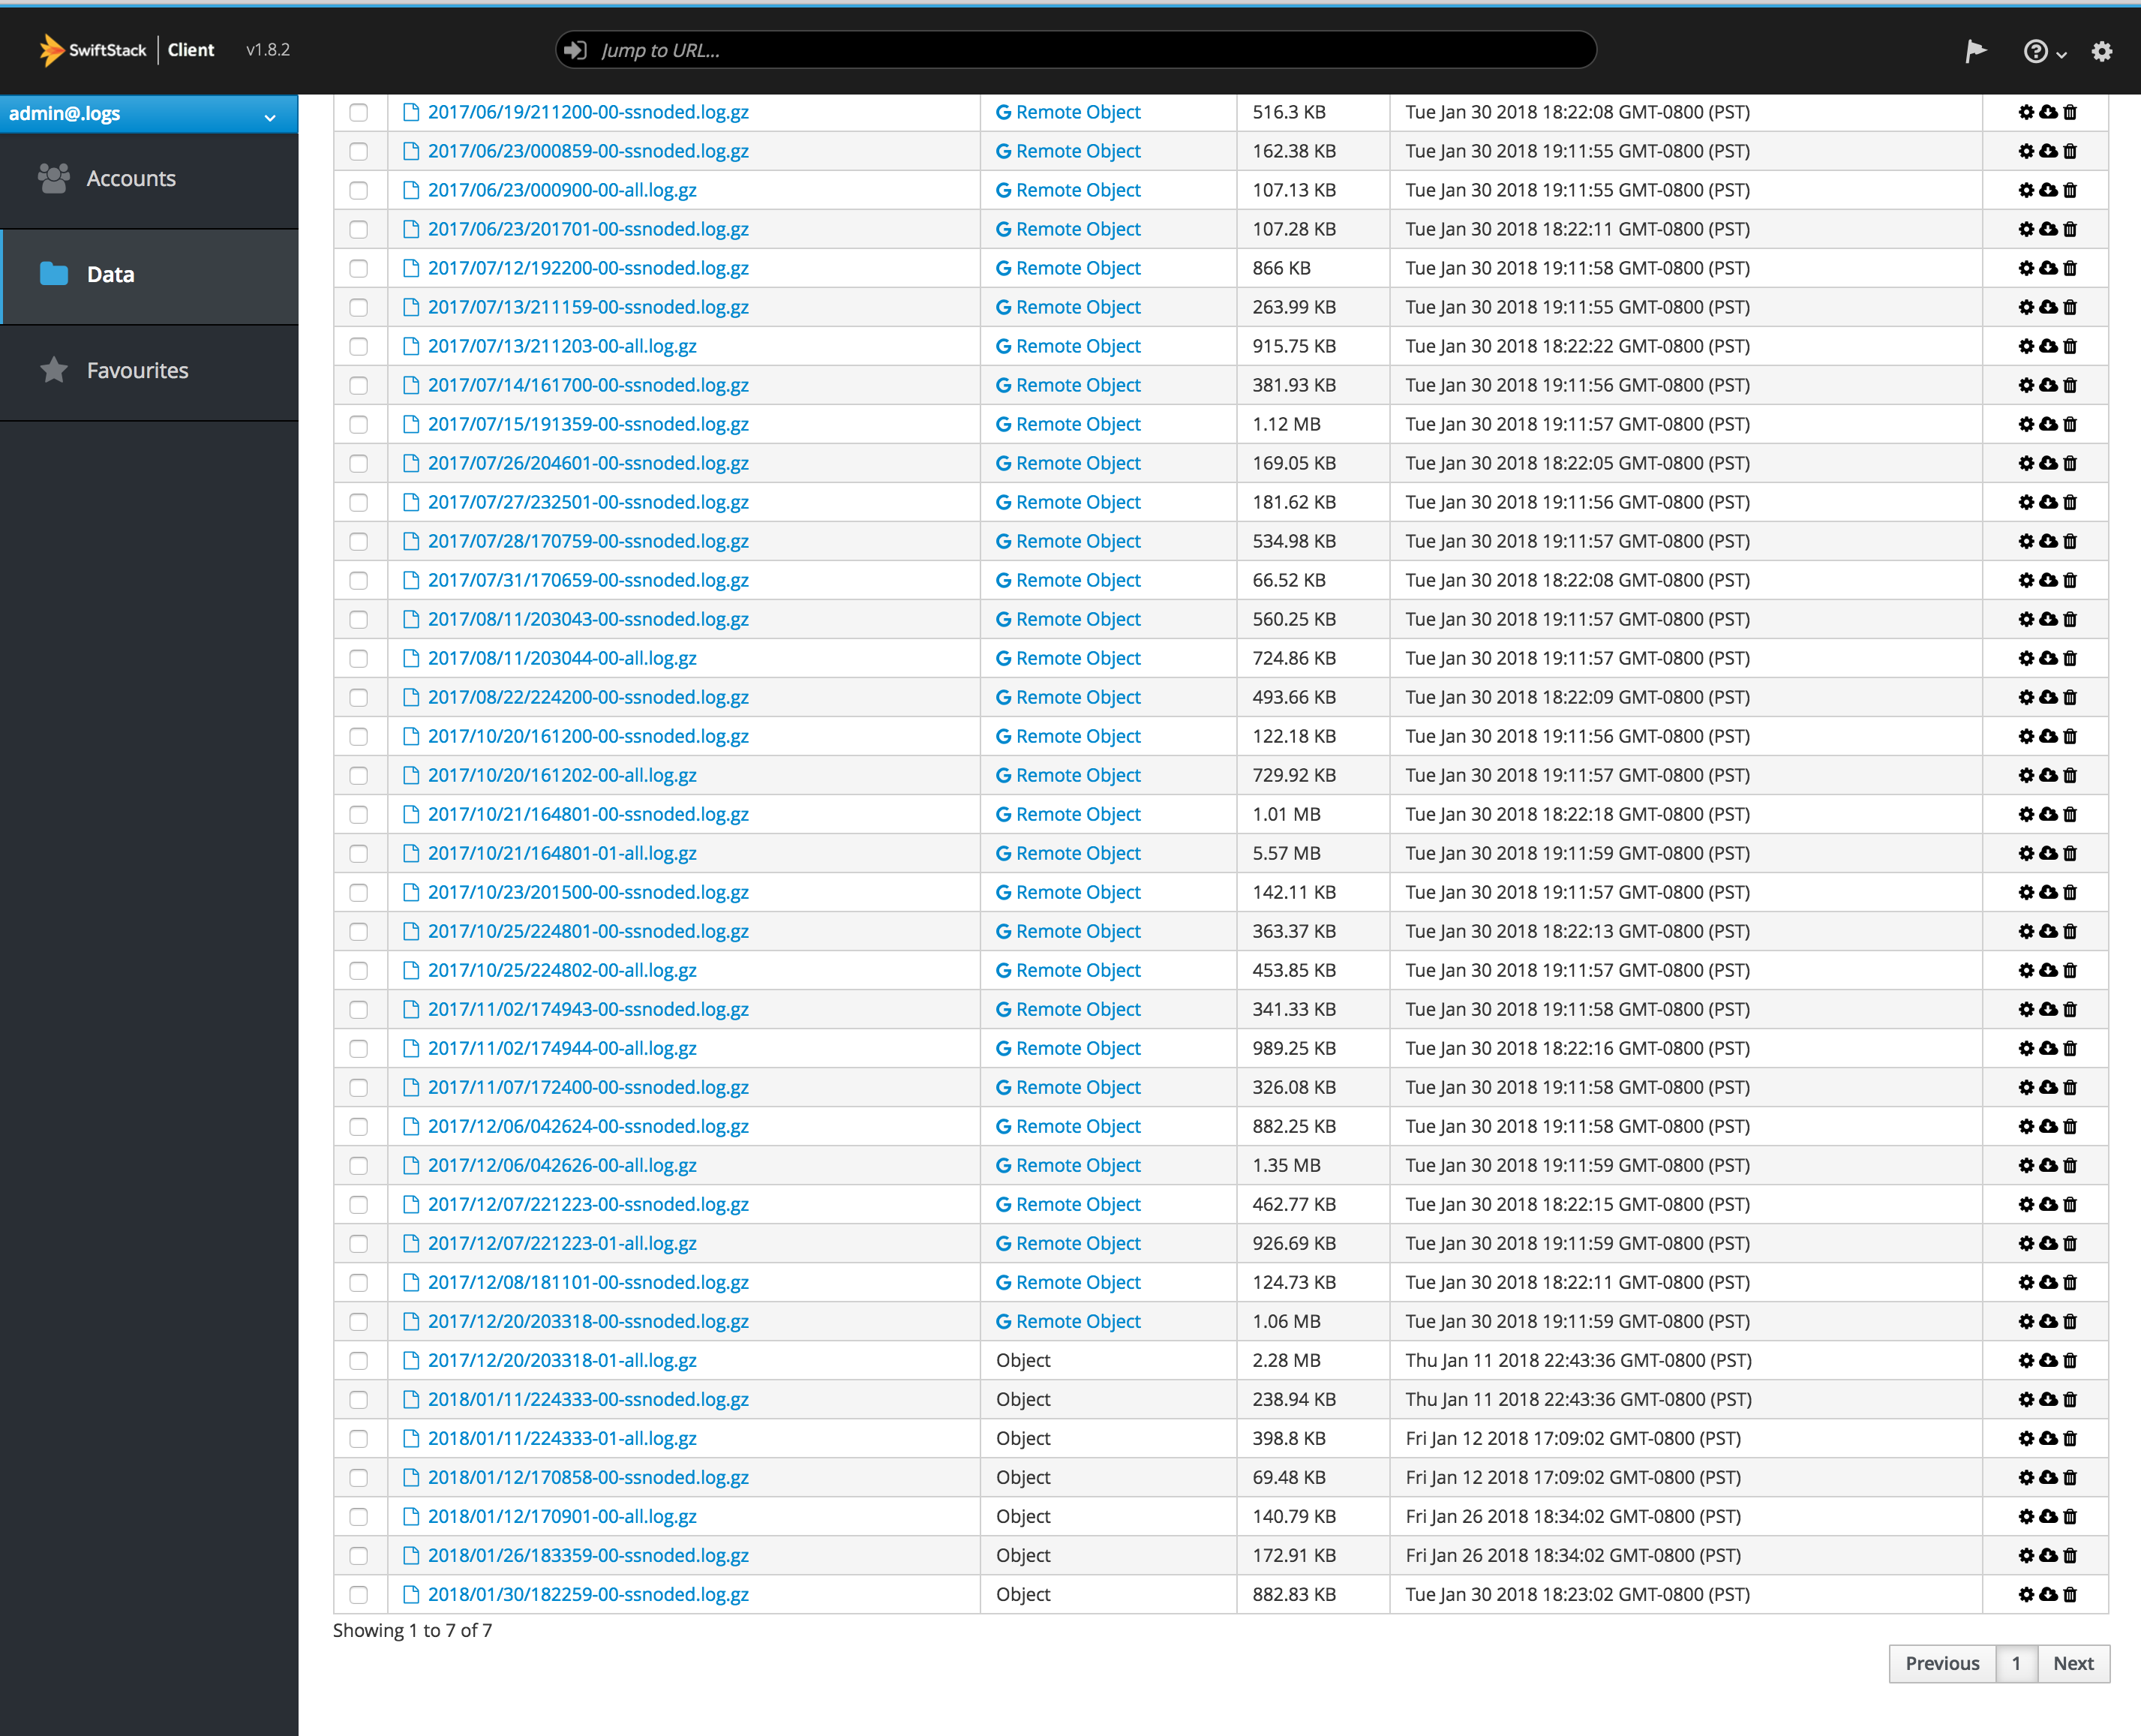
Navigate to the buckets in the account. It's helpful to turn off Folder View in the SwiftStack Client.
After the data is transferred, you will see the a combined listing of the data in the SwiftStack cluster and in Google Cloud Storage.
Logging back into the Google Cloud Storage Console will show data that has been migrated.

The next step is Installing SwiftStack File Access.