Configuring Your Cluster
Creating a Cluster to contain the Node
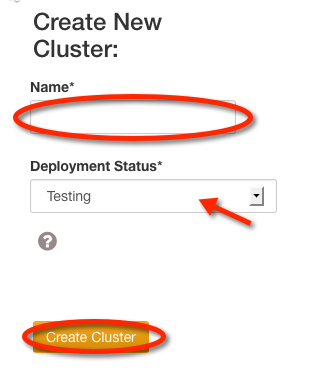
If there are no clusters present, you will be prompted to create a cluster. Give the cluster a Name, then designate it a Testing or Production cluster. The Deployment Status field is used to help SwiftStack make better recommendations about configuring your cluster. When finished, click Create Cluster.
You will be directed to the Cluster Manage page, Configure tab.

Network Configuration
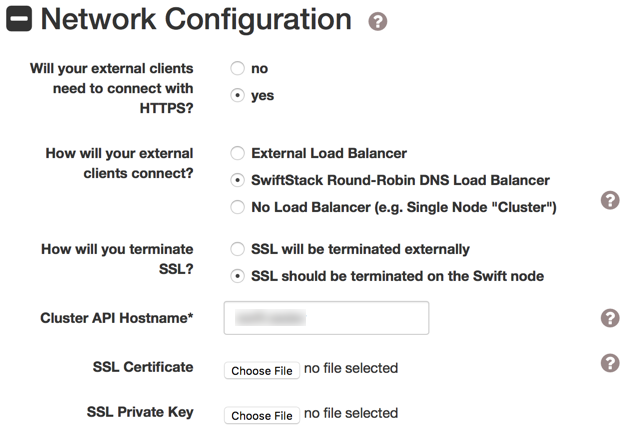
The Network Configuration section, which is expanded by default, asks some questions about SSL and Load Balancing, and provides fields to be filled out based on the answers. Help icons are available for additional explanation. Warning text will appear if selections do not constitute a valid configuration. Required fields are emphasised with red.
Additional information regarding Load Balancing is available.
In all cases, Cluster API Hostname should be set to a valid DNS hostname for the address set in Cluster API IP Address, or left blank.
Click Submit Changes at the bottom of the page when finished. You will be redirected to the Deploy tab.
You will be informed that you must enable a node.
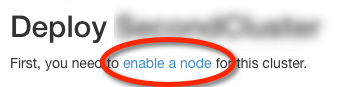
Clicking on the enable a node link will redirect you to the Nodes tab.
Next Step
Proceed to Provisioning Your Node.