Claiming Your New Node
Get Claim URL
During installation, the new SwiftStack node contacts the SwiftStack Controller via https (port 443) to register itself.
Upon successful registration a ‘claim’ URL is created. The claim URL will be displayed in the terminal as soon as the installation completes.

Tip
If you need to display the URL again, use the ssclaimurl command.
Claim the Node
While logged into the SwiftStack controller, claim the node by copying the URL and pasting it into your browser.
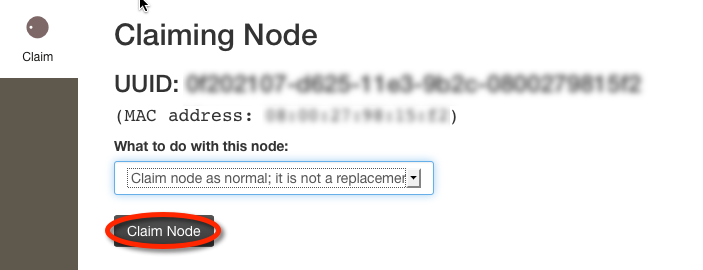
The Claiming Node page will open. Verify the "What to do with this node:" dropdown field is set to Claim node as normal; it is not a replacement..
Click the Claim Node button.
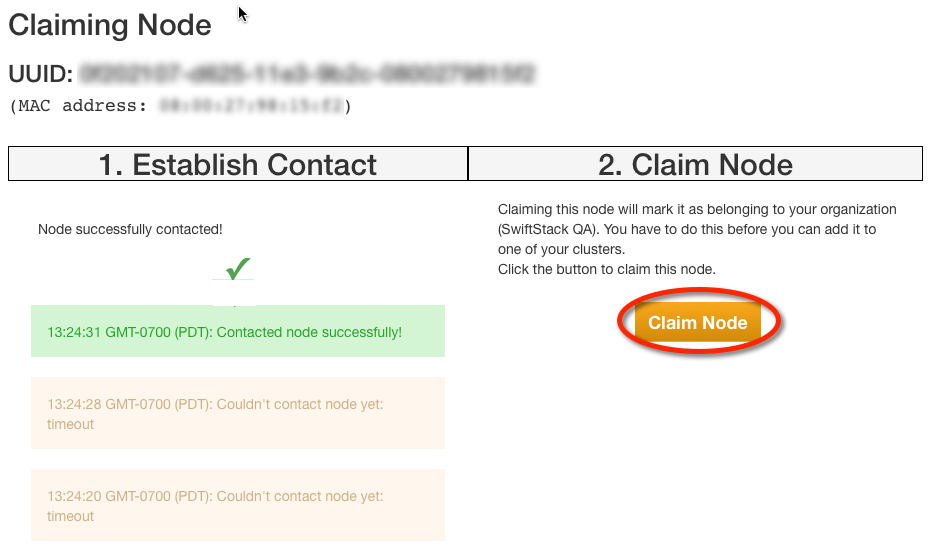
It can take 20-30 seconds for the secure VPN connection to establish between the node you are claiming and the controller.
- Connection is over UDP (port 1194)
- Only outgoing connections are allowed
- All incoming connections are blocked
Once the VPN is established, the node and the controller are able to communicate with each other. The screen will display "Contacted node successfully!". Please click on the Claim Now button.
Once the secure VPN connection is established, the node will be available in the controller. Changes to the configuration settings in the controller are provided to the nodes through this connection.
Note
The VPN connection allows the node to periodically provide system configuration and monitoring data to the controller. It also allows you to send configuration changes to the node through the controller. However at no point does the controller have any access to data that is stored on a SwiftStack node.
Note
If your cluster will include additional nodes, please repeat the previous steps starting with Creating Your SwiftStack Node and continue after adding all of the nodes.
Next Steps
If you plan to add the node to a pre-existing deployed cluster, click the Add Nodes button for the desired cluster, then skip to Provisioning Your Node.
Otherwise, continue with Configuring Your Cluster.