Replacing Failed Drives
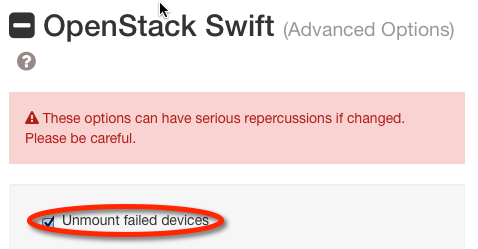
The SwiftStack Controller will automatically detect signs of drive failure. We recommend enabling the per-cluster automatic drive unmounting option. This will prevent dead or dying drives from degrading performance and maintain the desired replica count for objects on the failed drive.
Failed drives appear in the controller as alerts. If you have any alerts, you'll see a link on the right-hand side of the navigation bar at the top.

Click the "Go Now" button to go to the Swift Drives page.
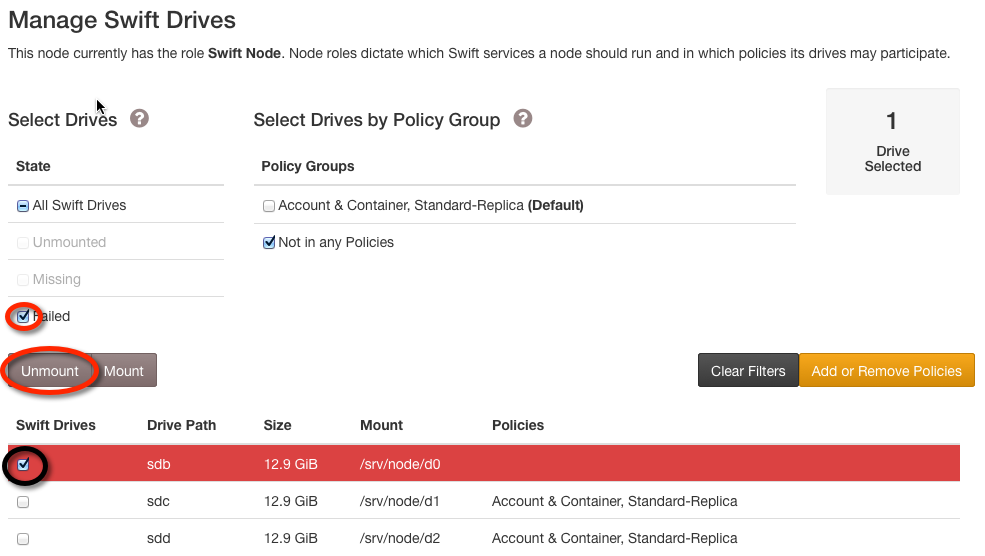
Failed drives appear in the Manage Swift Drives list with a red background. If the drive was not automatically unmounted you will need to manually unmount it. Select the failed drive and click Unmount.
If the failed drive was already listed in the "Unmounted Devices" list or if you manually unmounted it, you should physically replace the drive in the node with a new drive.
Depending on the chassis involved, the sdt CLI utility on the
SwiftStack storage node can make the drive tray for one or more
devices blink. This can help you locate the right physcial drives to
replace. For example, to make the drive trays associated with
/dev/sdj and /dev/sdk blink:
$ sudo sdt blink sdj sdk
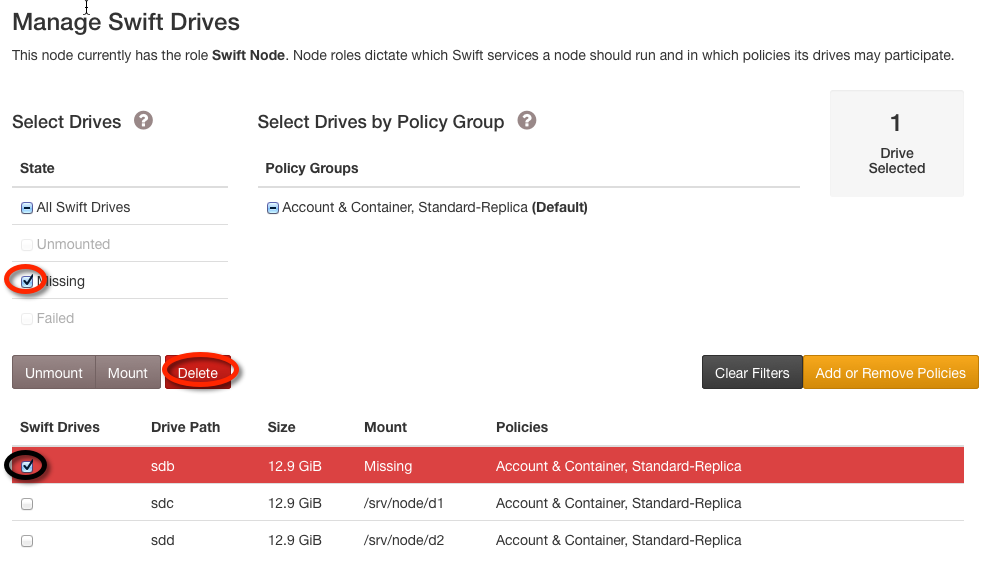
Once the drive has been physically replaced, simply delete the old drive.
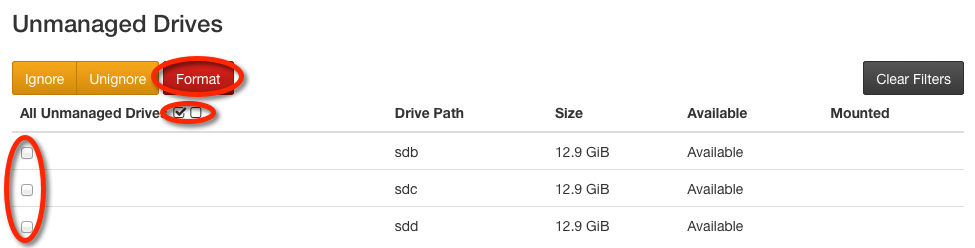
When the delete operation completes, format the new drive:
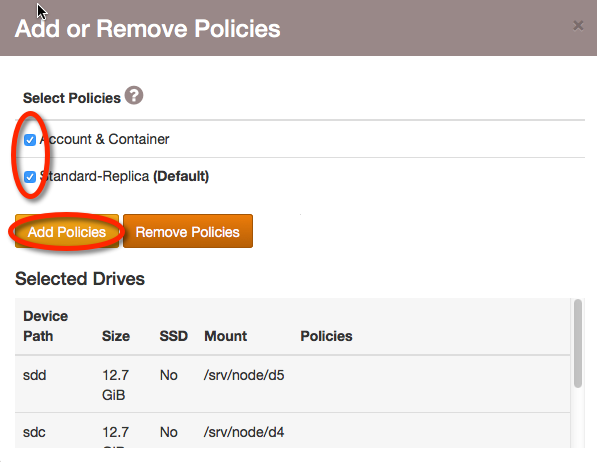
Once the format operation completes, select the drive, click Add or Remove Policies, and add the new drive to the appropriate policies.
You can make one or more drive trays stop blinking:
$ sudo sdt unblink sdj sdk