Node Configuration and Management
To manage nodes in your SwiftStack Cluster, navigate to the Nodes tab on the Manage Cluster page.
Each node is assigned a particular role which dictates the services it will run within the cluster. By default, only the All Swift Services role is enabled, which runs all services. You can manage which roles are available from the Edit Organization pages. See: Cluster Node Roles
For instructions on how to identify and respond to hardware failures, see the Operations Cookbook.
Node Provisioning
For instructions on how to add a node, see the SwiftStack Quick Start Guide.
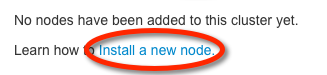
No Nodes Yet
If your cluster is empty, the Nodes tab will have a link to instructions on how to Install a new node.
Unprovisioned Nodes
If a logged-in user pastes the node's claim url into the browser, and claims the node, but has not yet added it to a cluster, the node will show up in all of the organizations' clusters as an Unprovisioned Node. To add it to this cluster, select a zone and role for the node, then click Ingest Now.

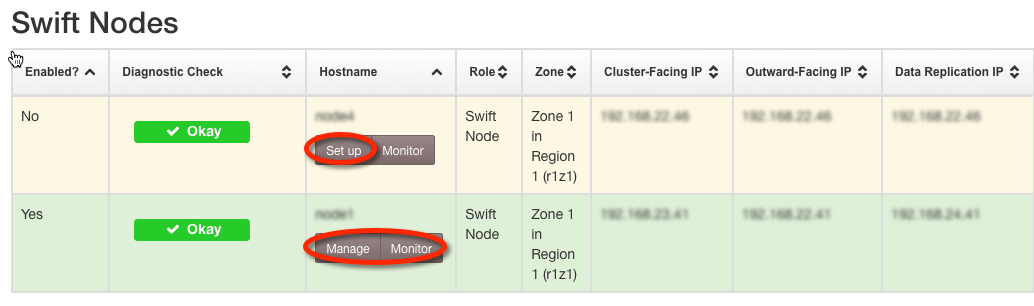
Nodes
Once a node is ingested into a cluster, it shows up in the Node list. Nodes which are fully provisioned and enabled have a green background. Nodes which have not yet been enabled have a yellow background.
To provision an unprovisioned node, click Set up. To change an already provisioned node, click Manage.
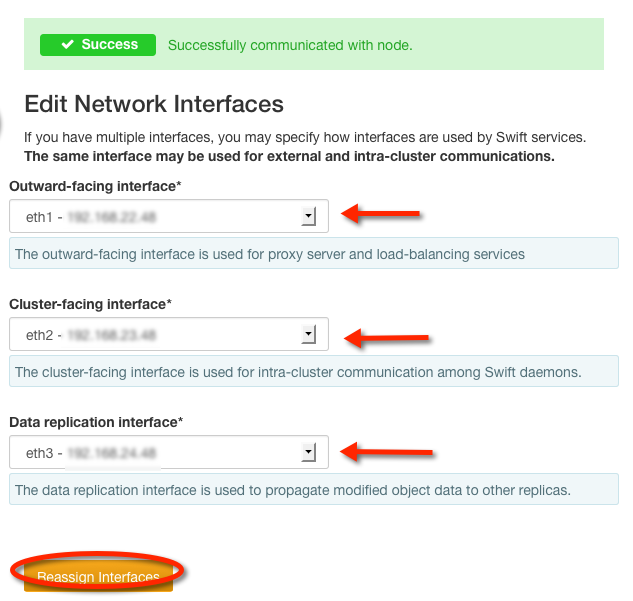
Node Network Configuration
While a node is able to function with only one network interface, it is preferable that it have at least two, one for outward facing communications with the clients / load balancer and SwiftStack Controller, and the other for intra-cluster communications such as replication. If there are three available interfaces on the node, it may be desirable to use a separate network for replication activity. This is especially useful for multi-region clusters.
By default, the interface which is the default route will be assigned to the outward-facing role. The next interface will be assigned to the cluster-facing role. If a third interface exists, it will be assigned to the replication role; otherwise, replication will use the cluster-facing interface.
Ensure Outward-facing interface, Cluster-facing interface and Data replication interface are correct, then click Reassign Interfaces.
Note
Changes to the network interfaces are not propagated to the node until configuration is deployed to the cluster.
Hint
Network Rules has been added to streamline the process of adding large numbers of nodes.
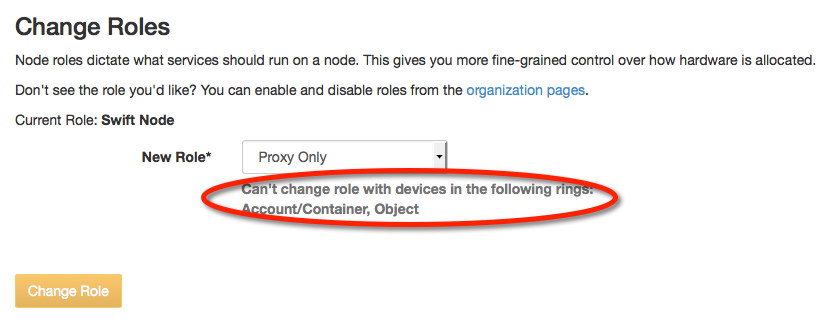
Change Role
Nodes may be assigned roles to restrict which Swift services will run on them. Roles are enabled and disabled on the Manage Organization page's Node Roles tab. For more information, see Cluster Node Roles.
By default, nodes are assigned the All Swift Services role, which runs all services.
On the Change Role tab, the current role will be displayed and a New Role may be chosen from the roles enabled for the organization.

However, if a node is currently participating in the Account/Container Policy, its role may only be changed to another role that includes Account/Container services. Similarly, if a node is currently participating in the Object Policy, its role may only be changed to another role that includes Object services.
In the event this message is displayed, go to the Swift Drives tab to remove the drives from the policies.
Note
Changes to the role are not propagated to the node until configuration is deployed to the cluster.
Delete Node
The Delete Node tab will allow the user to delete the node provided certain conditions are met.

If the node has drives participating in policies, it may not be deleted and the Delete this node button will be disabled. The Go Back button will redirect to the Swift Drives tab.

Enable / Disable
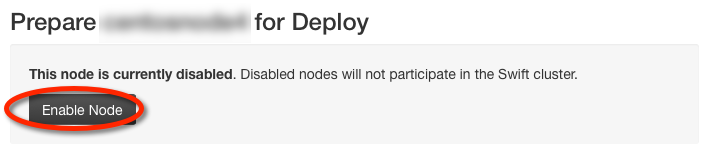
The Enable / Disable tab summarizes the state of the node and allows the user to change this state.
If the node is enabled, the tab will be called Disable and the Disable Node button will be available.

If the node is not enabled, the tab will be called Enable and the Enable Node button will be available.
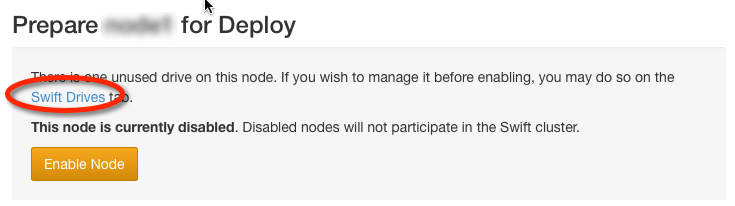
If the node has one or more drive(s) which are neither ignored nor participating in a Policy, a warning message will appear giving you the option to manage Swift Drives.
Note
Clicking either Enable Node or Disable Node will redirect you to the Manage Cluster page Nodes tab so you can configure any additional nodes before pushing config to the cluster.
Changes to a node's status will not be propagated to the sibling nodes until changes are deployed to the cluster.