Basic Cluster Settings & Upgrades
Navigation
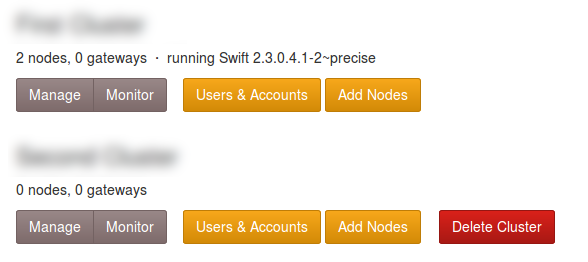
Click on the Manage, Monitor, Users/Accounts button for the desired cluster. The Add Nodes button will appear if a node has been claimed but not yet added to a cluster. The Delete Cluster button will appear if the cluster has no enabled nodes and has the Testing deployment status.
Each cluster related page will display buttons to toggle between Manage, Monitor, and Users & Accounts administration views.

Each cluster management related page will display tabs for various functions.

Creating and Deleting Clusters
Create a Cluster
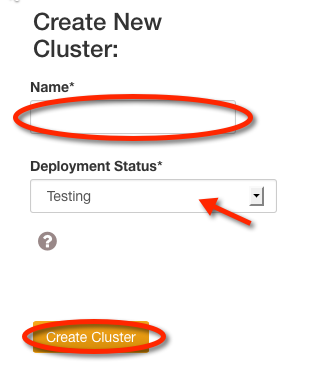
The Cluster List page provides the option of creating a new cluster.
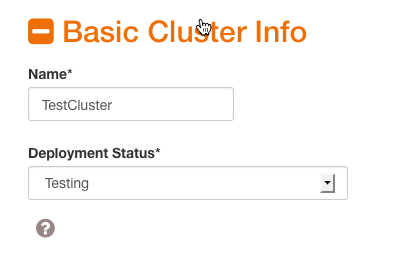
Give the cluster a Name, then designate it a Testing or Production cluster. The Deployment Status field is used to help SwiftStack make better recommendations about configuring your cluster. When finished, click Create Cluster.
Delete a Cluster
A cluster may only be deleted if its deployment status is not Production and it has no enabled nodes.
If a cluster may be deleted, a red "Delete cluster" button will appear at the right of its listing on the cluster page. Click it, and, if you're sure you want to delete the cluster, click the "Delete" button on the confirmation dialogue that appears.
Cluster Settings
Cluster Network Configuration
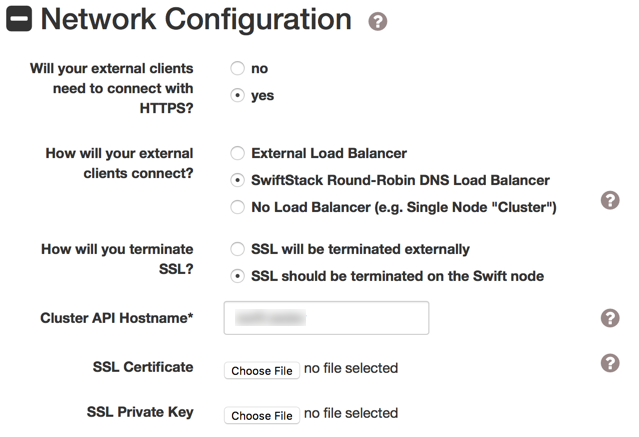
The Network Configuration section, which is expanded by default, asks some questions about SSL and Load Balancing, and provides fields to be filled out based on the answers. Help icons are available for additional explanation. Warning text will appear if selections do not constitute a valid configuration. Required fields are emphasised with red until they have been filled.
Additional information regarding Load Balancing and SSL Certificate Bundle are available.
When using the SwiftStack Load Balancer, the Cluster API Hostname field is required and must be set to a valid DNS hostname.
In all other cases, Cluster API Hostname should be set to a valid DNS hostname for the address set in Cluster API IP Address, or left blank.
NTP Information
Click the section head to see the applicable fields.
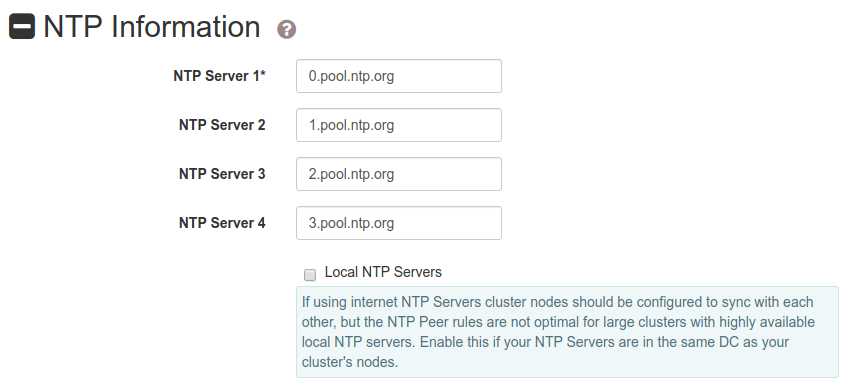
In order for the cluster to operate correctly, the nodes' clocks must be synchronized. SwiftStack provides default Network Time Protocol settings, but for clusters which cannot communicate with the Internet, local NTP servers must be configured.
Note
If your nodes use Active Directory for authentication, you should specify your AD servers' hostnames or IPs here. Otherwise, use your standard datacenter NTP servers or the provided default values.
Advanced Options
Click the section header to see the applicable fields.
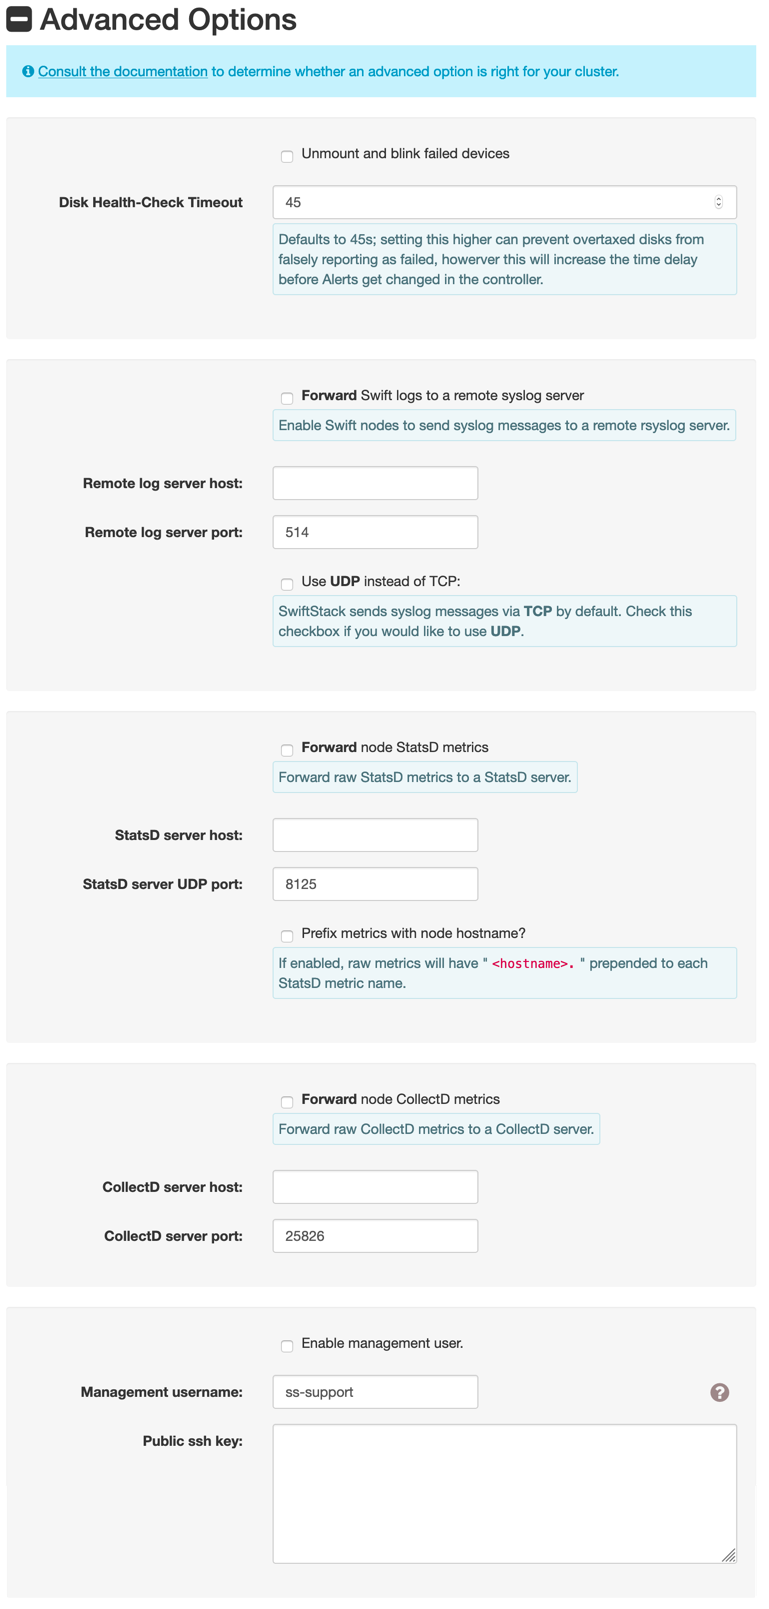
Unmount and blink failed devices
When Unmount failed devices is checked, the Controller automatically un-mounts devices and simultaneously enables the drive chassis blink function. This will trigger when SwiftStack identifies as having failed. Data stored on the failed drive will be restored on other drives based one of the other replicas. This option is not recommended for smaller clusters with fewer than 100 drives.
Disk Health-Check Timeout
Heavy I/O load on spinning disks can saturate their IOPS capacity and drive operation latencies very high. When this happens, the best thing is to tune the cluster to avoid that situation.
Until then, though, disk health checks may fire when they shouldn't, due to the excessive delays when accessing devices. This setting can increase the check's timeout to prevent false positives. Increasing this setting when it is not necessary, or setting it too high will increase the delay between a node noticing a problem and the controller learning about it. So please only change this setting when SwiftStack Support advises it is necessary.
Forward Swift logs to a remote syslog server
When Forward Swift logs to a remote syslog server is selected, this will configure each SwiftStack node to send Swift logs to a remote rsyslog server.
Forward node StatsD metrics
When Forward node StatsD metrics is selected, this will configure each SwiftStack node to send StatsD metrics to a remote StatsD server.
Configure Management User
When Enable management user is selected a config push will ensure that a passwordless sudoer user is configured with the supplied Public SSH key for ad-hoc remote management.
Submit Changes
To save changes, press the Submit button. You will be redirected to the Deploy tab where a summary of the changes will be displayed.
Deploying Changes to a Cluster
Many configuration actions will redirect you to the Manage Cluster page's Deploy tab.
If the deploy fails, a Config Deploy Failed alert will appear on the alerts page.
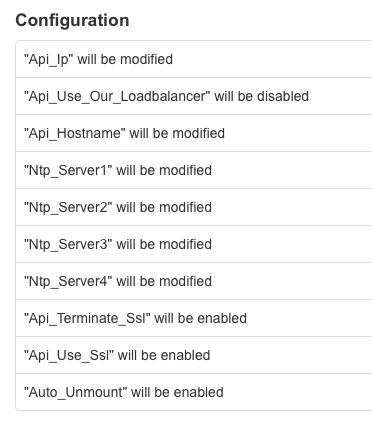
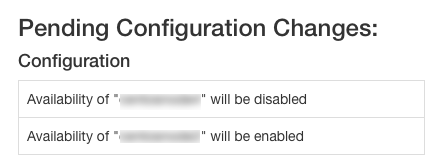
Pending Configuration Changes
Changes that will be made to cluster on next deploy are listed in the Pending Configuration Changes section.
As a reminder, a count of undeployed config changes is also in the site's header.

Required for Deploy
A number of requirements must be met before changes can be deployed.
- The cluster must contain at least one Active node.
- Each Storage Policy must be mapped to at least one storage drive.
- At least one User Account must be configured.
If any of these requirements are not met, an error message will be provided with a link to the appropriate page.
Once all the requirements have been met, push the Deploy Config to Cluster button.

Upgrading Swift
The Swift Upgrade tab on the Manage Cluster page provides a mechanism to upgrade the version of Swift being used by the nodes in the cluster to the most recent version.
Rolling Swift Upgrades
For any cluster with more than 3 nodes, availability will not be affected. Upgrades are performed in a sequential manner, and if one node fails to upgrade, the cluster's upgrade will be aborted.
The following steps are performed on each node:
- Remove from load balancer
- Shut down Swift
- Perform package upgrade
- Restart Swift
- Verify Swift health
- Return to load balancer
Upgrade is not available when:
- Configuration has not been deployed
- Nodes are at most recent version
- An upgrade is already in progress
The following actions are not available when Swift upgrade is in progress:
- Deploy Config
- Deploy Rings
- Deploy Storage Users (via UI or API)
Warning
A cluster that contains fewer than 3 nodes will experience availability and/or consistency problems during upgrade.
Upgrade Procedure
Click on the Swift tab on the Manage Cluster page.
Review the data at the top of the page.

Click the Upgrade button when ready.

The page will update regularly with the status of the upgrade.

The upgrade will turn green when it succeeds.

The Upgrade button will become available again when there is a newer Swift version available.
Troubleshooting Upgrades
Upgrades sometimes fail due to transient errors. Try the upgrade again. If the second upgrade also fails, please contact SwiftStack Technical Support.
Upgrading File Access
The Swift Upgrade tab on the Manage Cluster page provides a mechanism to upgrade the version of Swift being used by the nodes in the cluster to the most recent version.
Click on the File Access tab on the Manage Cluster page.
Navigate to File Access Upgrade tab.
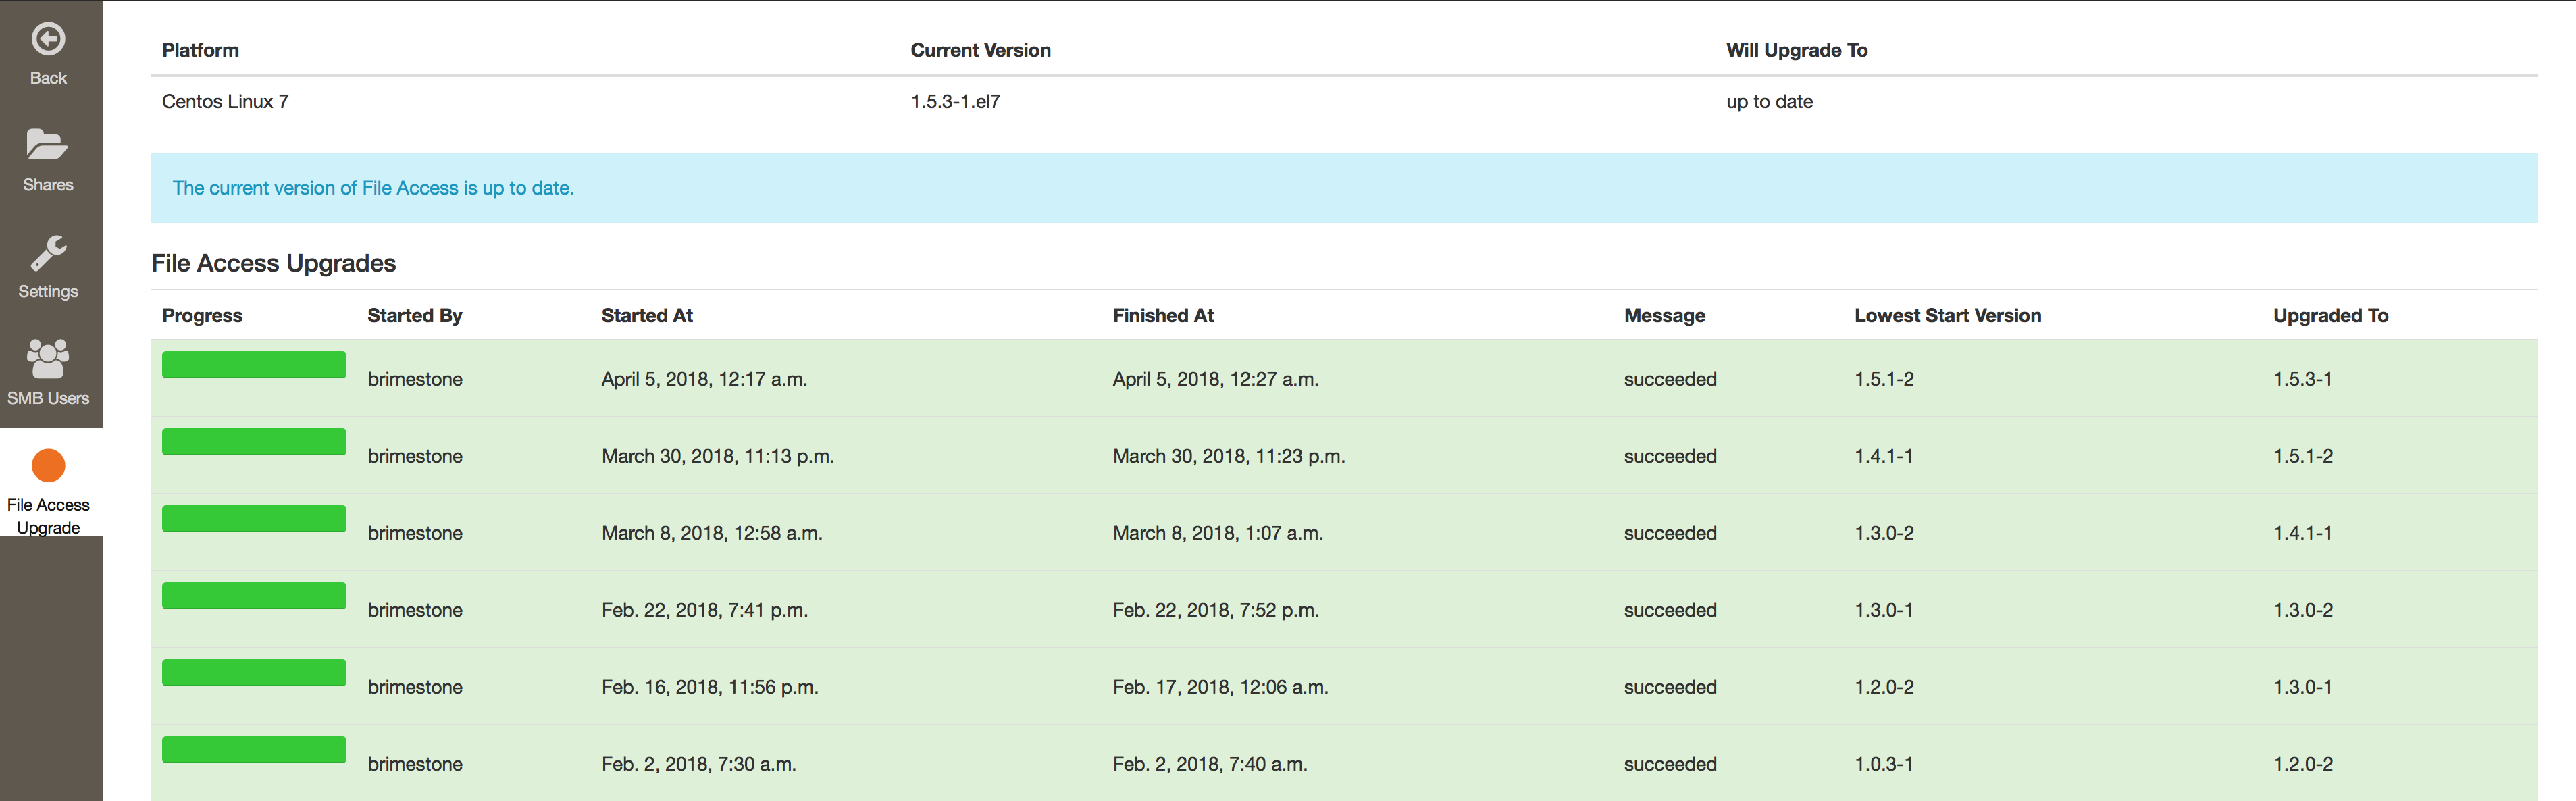
Click on the Upgrade File Access button to initiate the upgrade process.
Warning
Exported volumes will experience a serivce distruption during this upgrade process.
For any questions reguarding the upgrade process, please contact SwiftStack Technical Support.