Installing a SwiftStack Gateway
Installation starts out the same as a SwiftStack Node, a process we expect anyone installing a Gateway will already be familiar with. As a result we've provided these installation instructions as a checklist. If further details are needed, please refer to the SwiftStack Quick Start Guide.
Checklist for Installing SwiftStack Agent Software
Once the machine is ready, sign on to it and use the following checklist:
[ ] Use cURL to install the SwiftStack agent software.
curl -1 https://platform.swiftstack.com/install| bash[ ] Upon successful installation the claim URL is displayed. Copy the Claim URL.
[ ] Open a browser and log in to the Controller.
[ ] Paste the Claim URL into your browser.
[ ] Select “Claim node as normal; it is not a replacement.”
- [ ] Click the “Claim Node” button.
- It can take 20-30 seconds for the secure VPN connection to be established
- [ ] Once the screen displays “Node successfully contacted!”, click on the
“Claim Node” button.
- [ ] The Clusters page will open, locate your cluster and click the
“Add Nodes” button.
- [ ] On the “Ingest Node” page, locate the Gateway node and select
“SwiftStack Gateway” for its role.
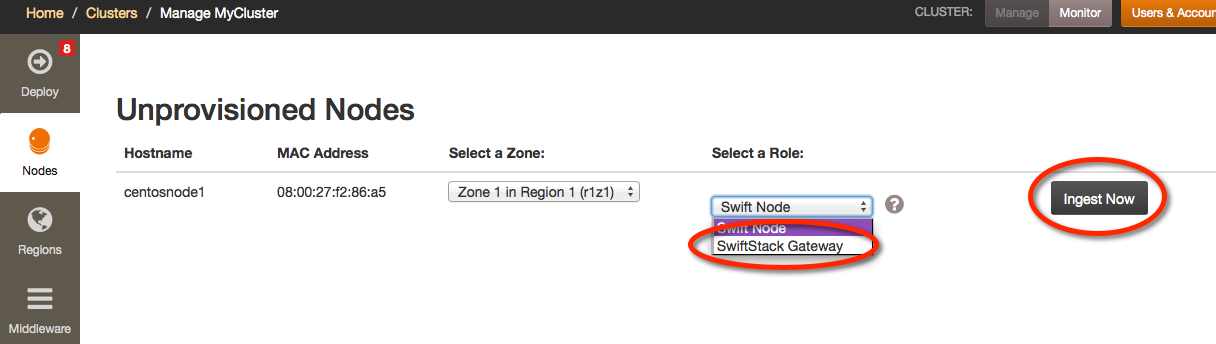
- [ ] Once the role has been selected, click the “Ingest Now” button.
Next Step
Proceed to Configuring a New Gateway.